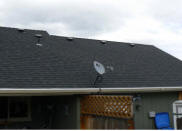
I have been up in my attic and noticed the heat produced. After putting
my hand on the underside of the roof I found the heat was coming from the
sunny side of the roof. This heated my attic warmer than my house inside
even on cool days. I am located in Grants Pass, Oregon.
For my system, I wanted to circulate air from the living space, through the collector,
and back to the living space. I did not want to pull the attic air
into the living space because of the potential problems from the fiberglass
insulation particles.
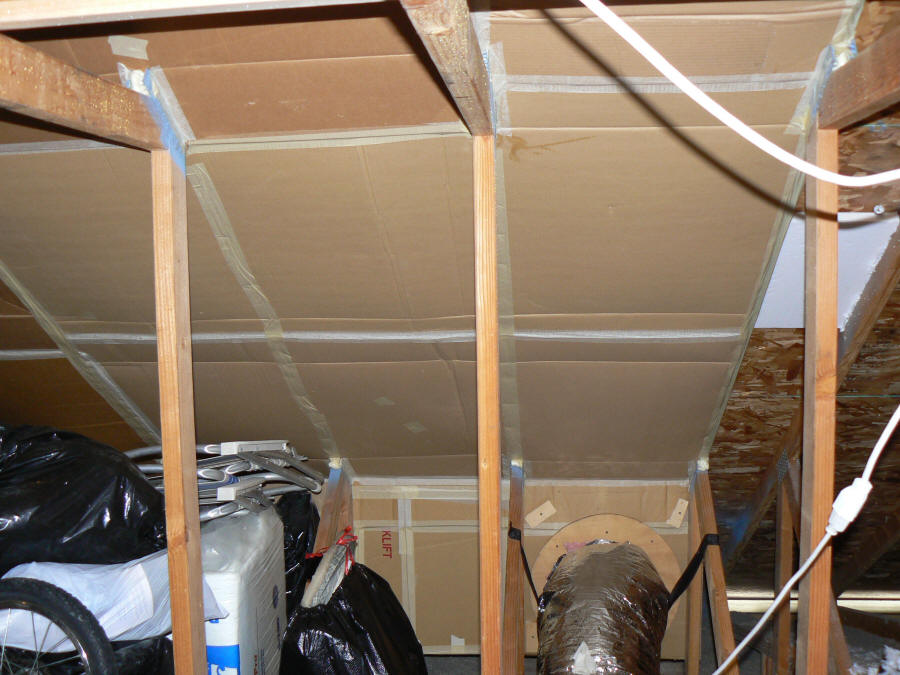
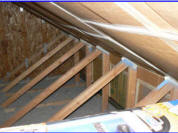
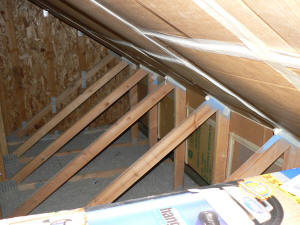
I painted the collector area and I decided to bridge
the gap between the 2x4 truss bays. The trusses make a great base for this
system. Their design blends well with my plans.
As a test, I used furniture cardboard to enclose the truss bays and also
to make the supply and return plenums. The supply and return plenums
are at the bottom and top of the bays, and are supported by the trusses. I
used overlapping seams, sealed with caulking, taped with masking tape and
then stapled to keep it tight.
So, the air from the living space is ducted to the inlet plenum.
The air then flows up the now enclosed truss bay spaces and is heated by the
underside of the roof surface. The now heated air then flows into the
return plenum where a duct and fan take the now heated air back to the
living space.
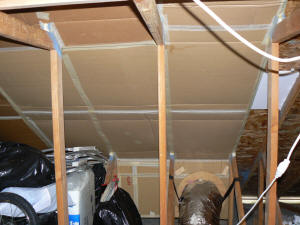
The lower plenum with intake duct. |
The exhaust plenum.
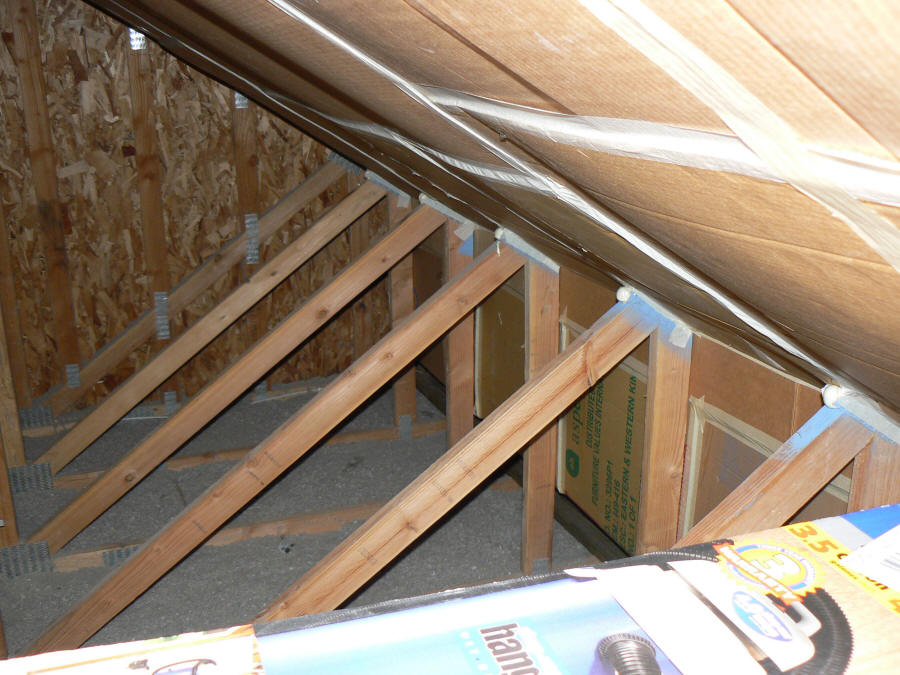
The 2 by 4's between the trusses were
added and foamed. |
The whole collector is supported
by the roof trusses. |
The total length of the collector is 18ft., Height is 12 ft (216 sqft).
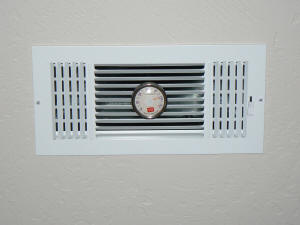
Twelve inch insulated ducts are used to convey the air between the collector
and my living room. The intake duct run of 10 ft. long, is to a 16inch. sq.
filter grill. The exhaust duct is 20ft. long and is powered by an
ridge vent attic fan with the thermostat set to come on at 93deg. I am sure
that some heat is lost through the cardboard, however, it was free,
abundant, and a good way to build the prototype.
The ridge vent fan with thermostat was purchased at Grovers Electrical
and Plumbing. It was opened no box and discounted to $20. It has a 12
inch. housing, so the 12inch ducting slides right over it.
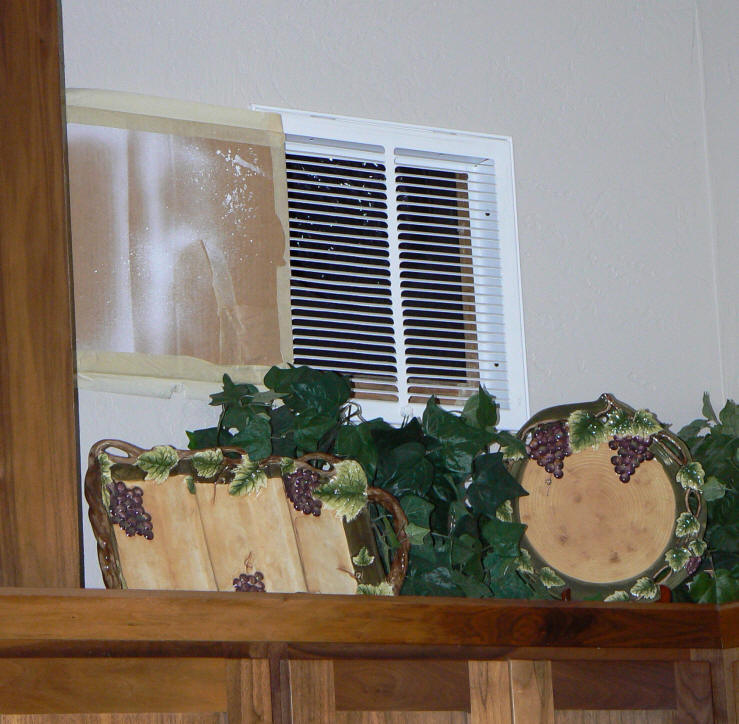
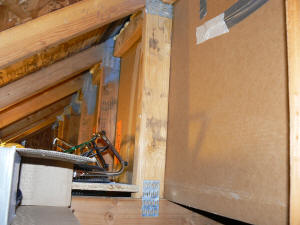
The inlet vent for the attic collector. |
The outlet vent for the attic collector. |
Performance
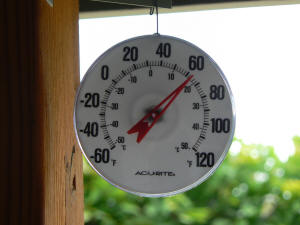
The system really works. I have benefited from it for 6 months. The
back of my home faces south-south west. This causes my roof to miss
morning sun/heat. It comes on around 12 noon, runs till 6pm. because of
stored up heat. My daily increase in temperature was around 5 deg.
Enough to keep the house heater off many but not every day.
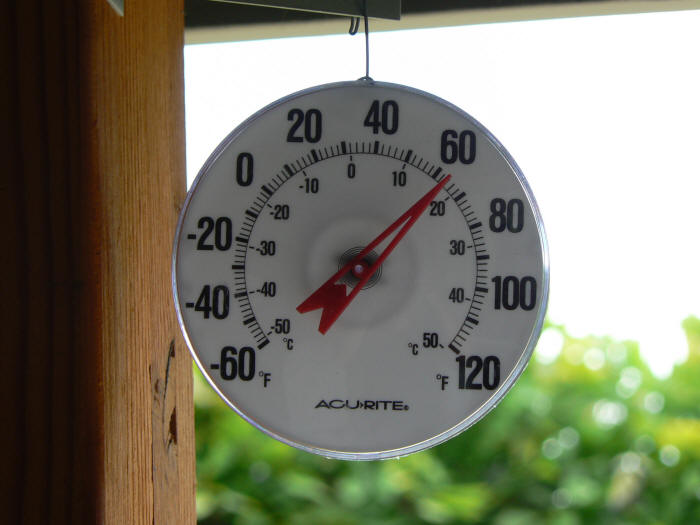
Outside temperature |
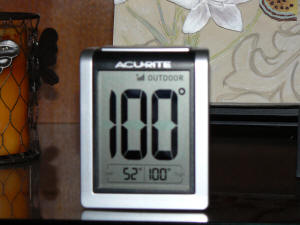
Collector out temperature. |
Note that these temperatures were achieved in spite of their being
some clouds.
We get a lot
of clouds here, when there is no sun the system produces little or no
heat.
What I have learned and Improvements
Some things learned from the prototype and some future improvement
ideas:
- The cardboard can be improved on. Maybe 4x8
polystyrene board, 1 inch thick.
- Cold air comes in at night. A one way valve
could fix this. I have not figured out how to do this well yet. For now
the vents must be closed at night. I did try one of the light poly
film dampers, but found that it fluttered and leaked some air.
Anyone have any good ideas for a damper?
- The cardboard smells a little at first.
- Installing a larger fan does not mean more
heat, just more air.
- The intake and exhaust ducts should be
installed at opposite ends of the plenums to balance the air flow in the
bays.
- Moisture needs to be vented after rain to keep
it out of the home. Moisture produced after system not used
while raining. Will clear up in about 5 minutes. There are no droplets
of condensed water under my roof.
- The system doesn't add outside air if sealed
properly. When it leaks air you can smell the attic air.
- The unused hot air in summer will soon be used
to run through my dryer. Unused, the attic heater heats up to 150 plus
deg. This should dry clothes quickly. To test this a 110 volt gas dryer
is being converted be me now for this. It will be installed in the
garage below and ducted to the heater. Depending how this works I might
convert my other dryer in the house to run on the attic heater
permanently, with 220 back-up. The air setting could be used.
- The attic heater was installed above the
garage. This was a convenient location since there was a floor above the
ceiling already to be used for storage.
- On days when only a few degrees of heat is
needed a switch or thermostat should be installed to limit overheating.
- My roof is black. At first I wished it was
lighter in color. I had to double the vents because of the excess heat.
Now it's my friend.
- If I had the money and expertise I would add
solar hot water as one unit with my attic heater. Think of this... An
attic heater that heats water, the home, supplies all the dryer heat and
cools the home at night, all through the central forced air heater.
- I am thinking of reducing the air bays between
the 2x4 trusses to a 1-2 inch. gap to concentrate the heat. The gap is
now 3 1/2 inch.
- Tape does not hold up well to high heat and
time. After trying many different tapes. I found that the cheap- lower
cost, thinner masking tape from Wal-Mart superior here.
- This solar design can not be seen from outside
the home. No one will know it is there. HOA rules may not apply.
- As Randy points out, the cardboard is a good way to get
a prototype built, but is probably not a good long term choice. I think
that the high temperature polyisocyanurate insulation board that many lumber
yards sell would be a good choice. The "Great Stuff" polyurethane foam in
a can is a good way to bond the insulation board parts together and seal them.
I would not use polystyrene insulation board as it does not have a high enough
temperature capability for this kind of application.
- Bear in mind that the performance of unglazed
collectors like this one will vary a lot with climate. In some climates,
this type of system may not be effective. More on making use
of attic heat here...
- Based on Randy's experience with a little moisture
after rains, it would be good to monitor the humidity levels in the collector
area for a while just to make sure there is not a problem.
- It will be great to see how the use of the attic heat
for the dryer comes out. While this has been discussed, to my knowledge,
Randy will be first to actually give it a try. Four KWH per dryer load is
a very worthwhile saving to go after.
If you have any thoughts or questions on the system, or on attic heating,
please add a comment ...
Please keep it civil -- no spam.