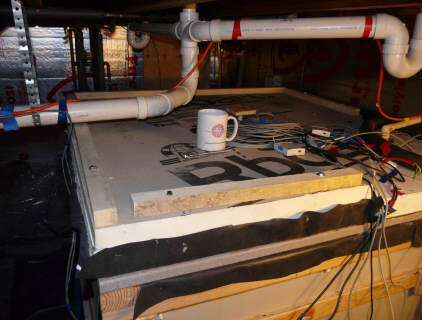
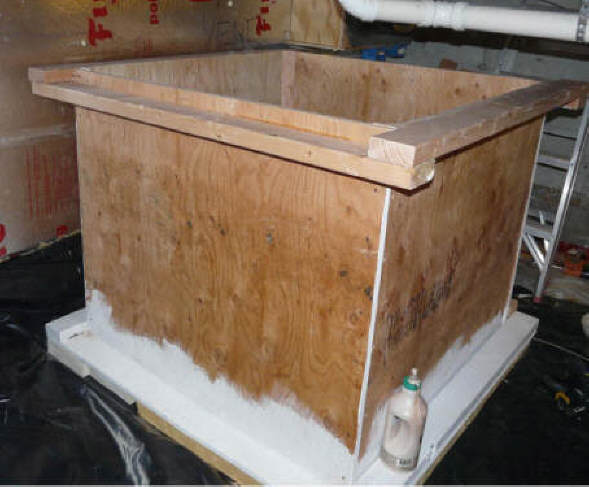
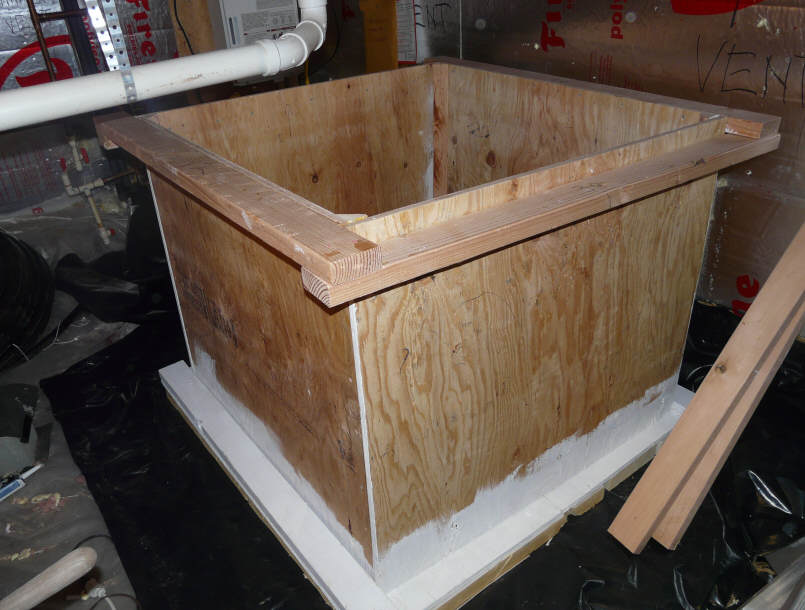
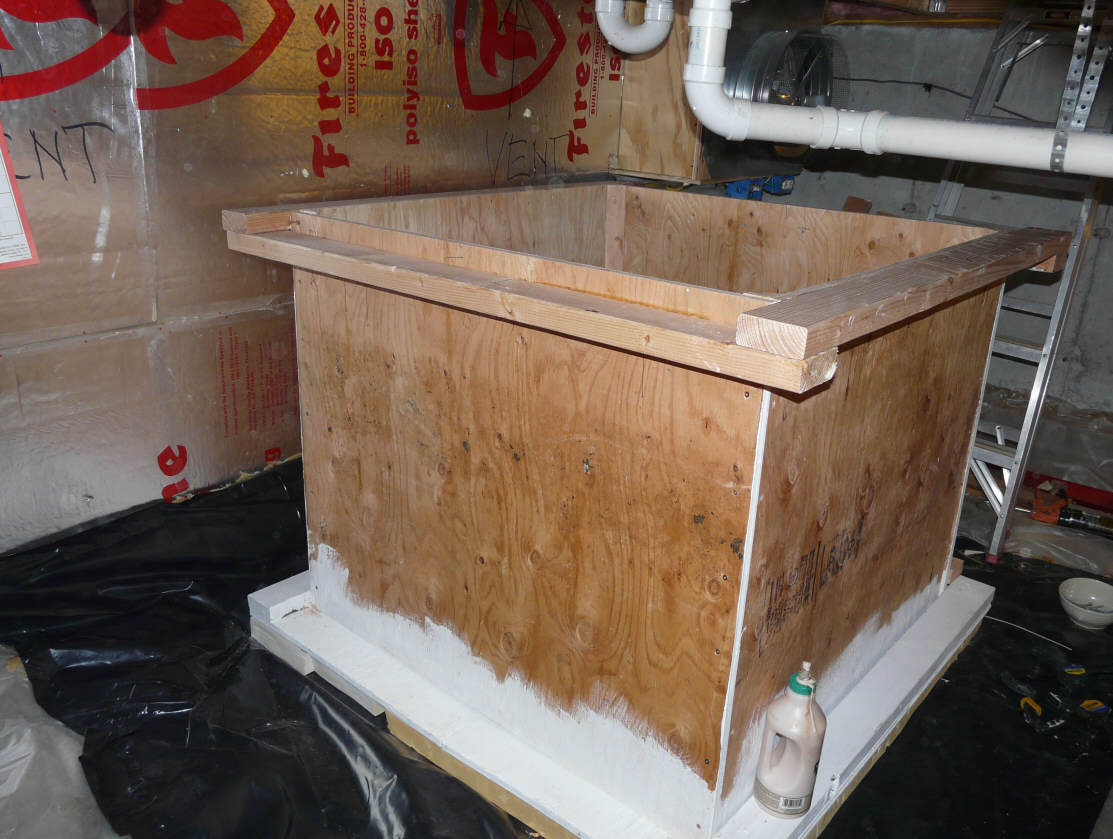
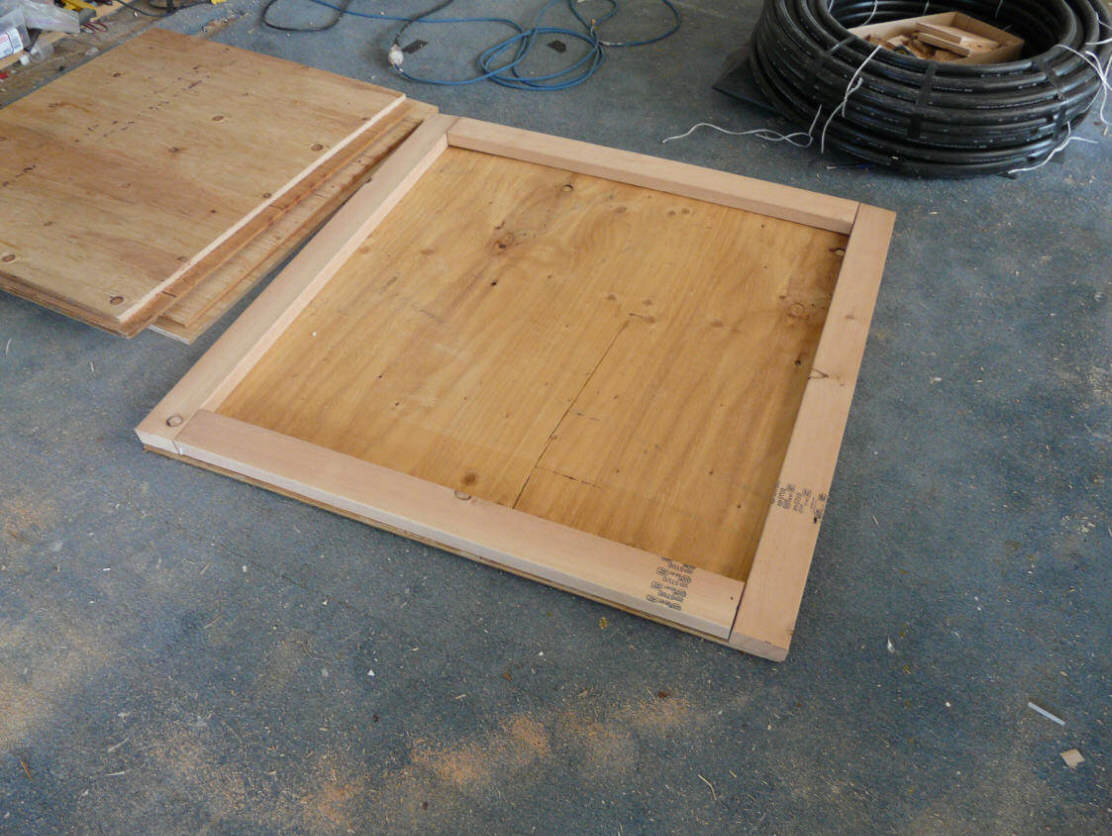
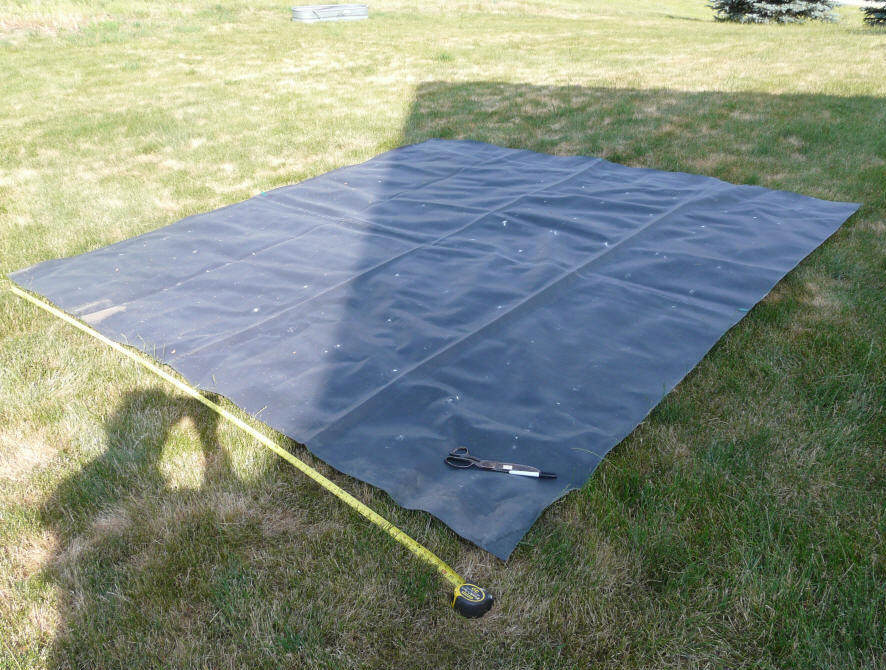
Installing the LinerMark the mid points of each side of the
wood upper tank frame with a marker.
Push the liner into the tank, and line up the mid points on the EPDM
liner that you marked earlier with the mid point marks on the frame. If
you have rectangular tank, make sure you get the long side of the liner
with the long side of the tank. Clamp the liner mid points to the tank
sidewall midpoints.
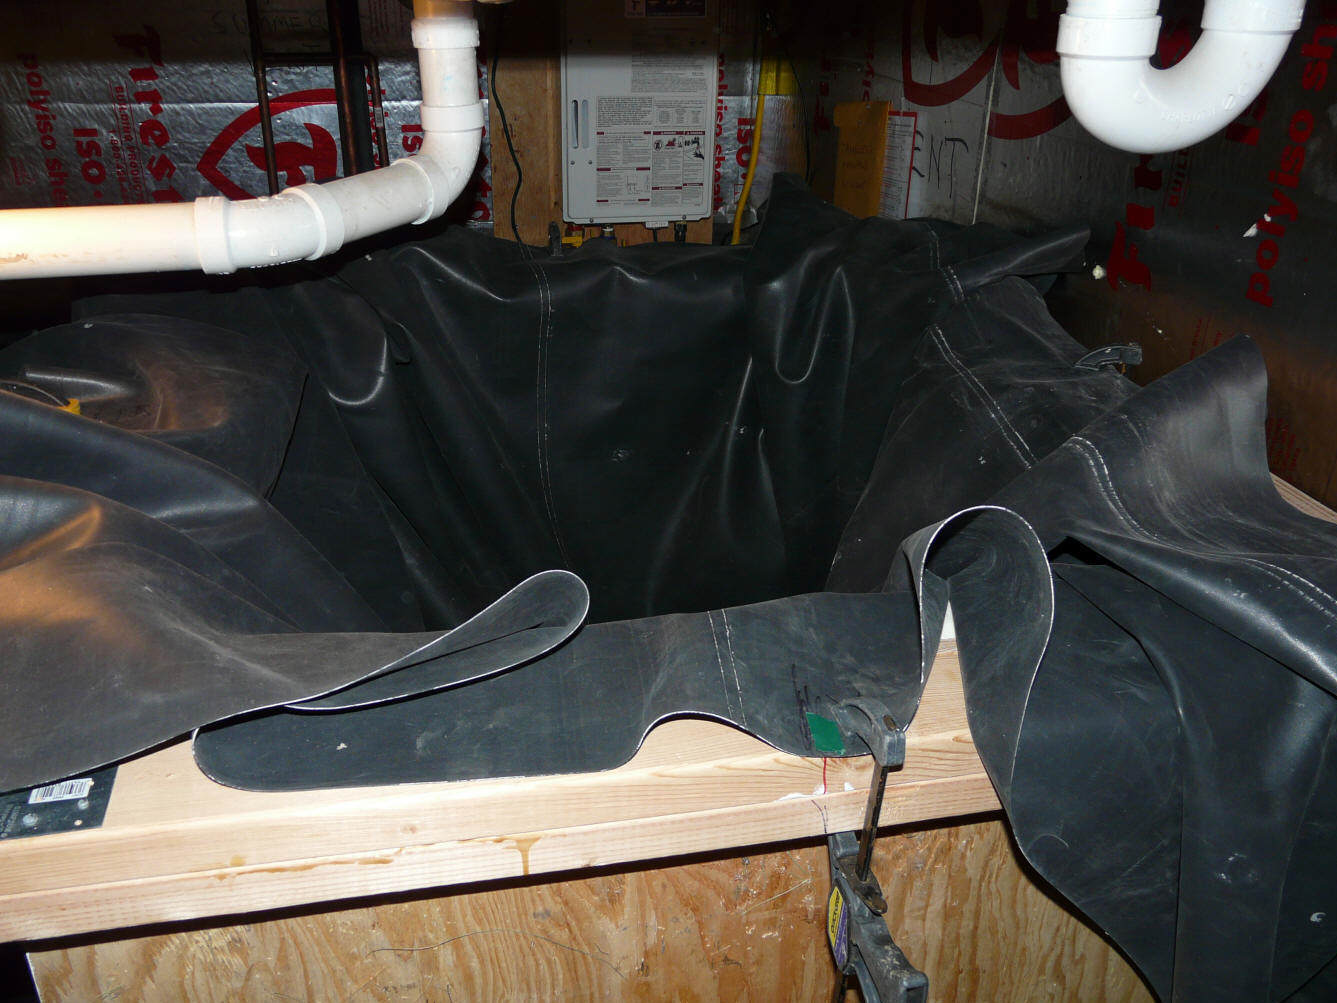
Push the liner down to the bottom of the tank. Then, take your shoes
off, and work from inside.
This will look like a real mess when you start, but
just work all the excess material into a single fold at each corner.
Some clamps are helpful to keep things in place. Make sure that there
is enough slack in the EPDM that it won't be stretched by the water
pressure -- you want the liner to bear against the tank wall
everywhere -- no bridging. There will be fold lines in the EPDM -- this
is OK.
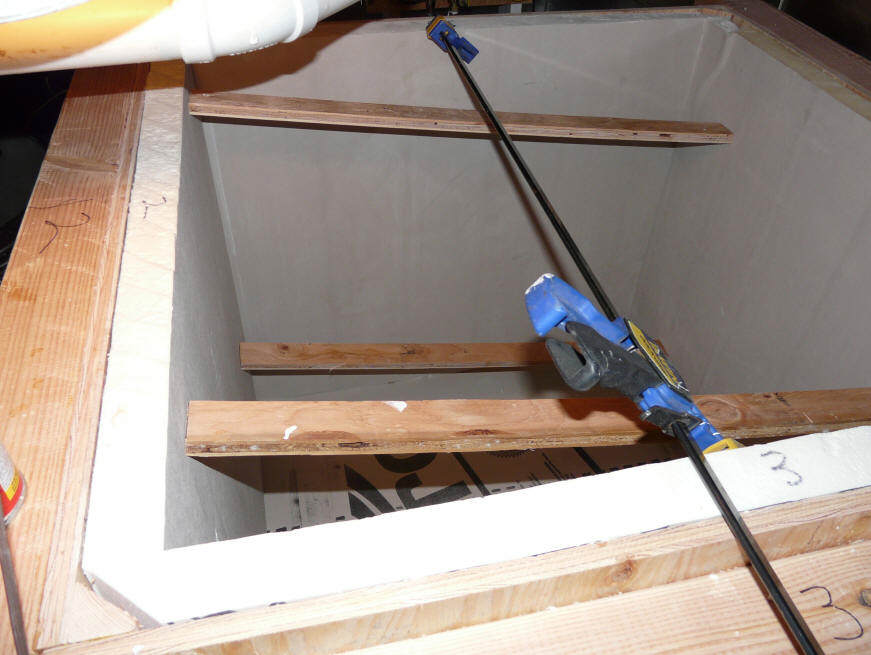
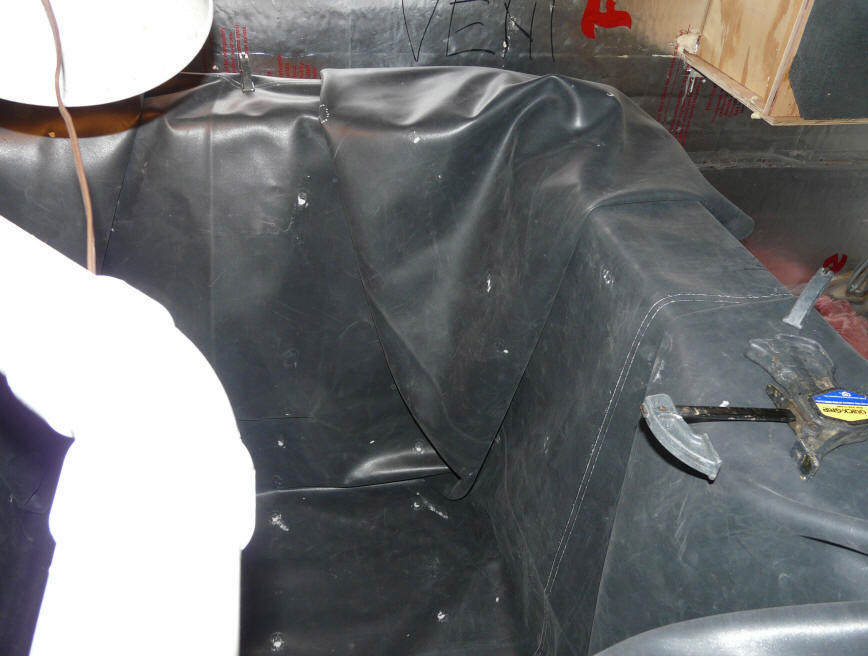
When you get
things in place, climb out of the tank, and put about half a foot of
water in -- then work the EPDM around and make certain that the EPDM
is supported by the tank walls and bottom with no bridging. Once
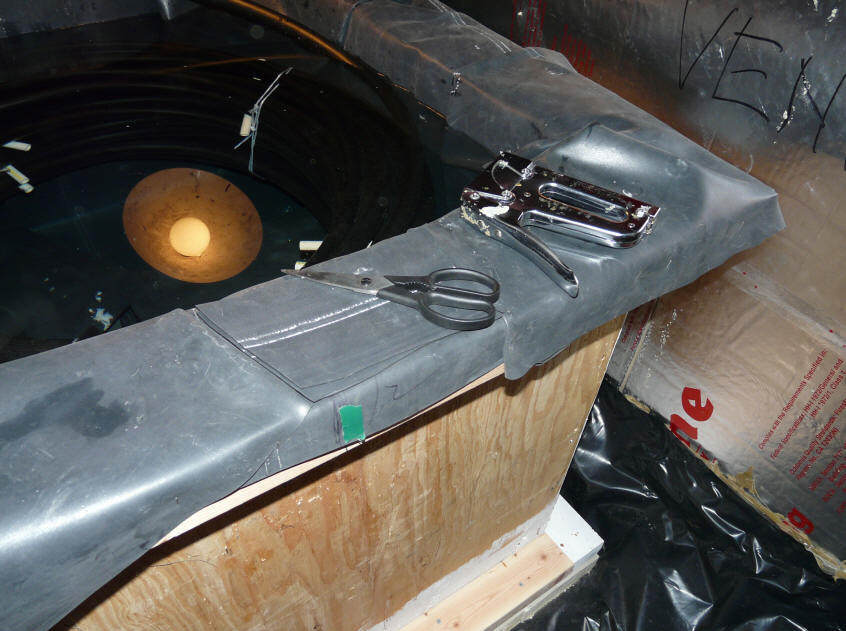
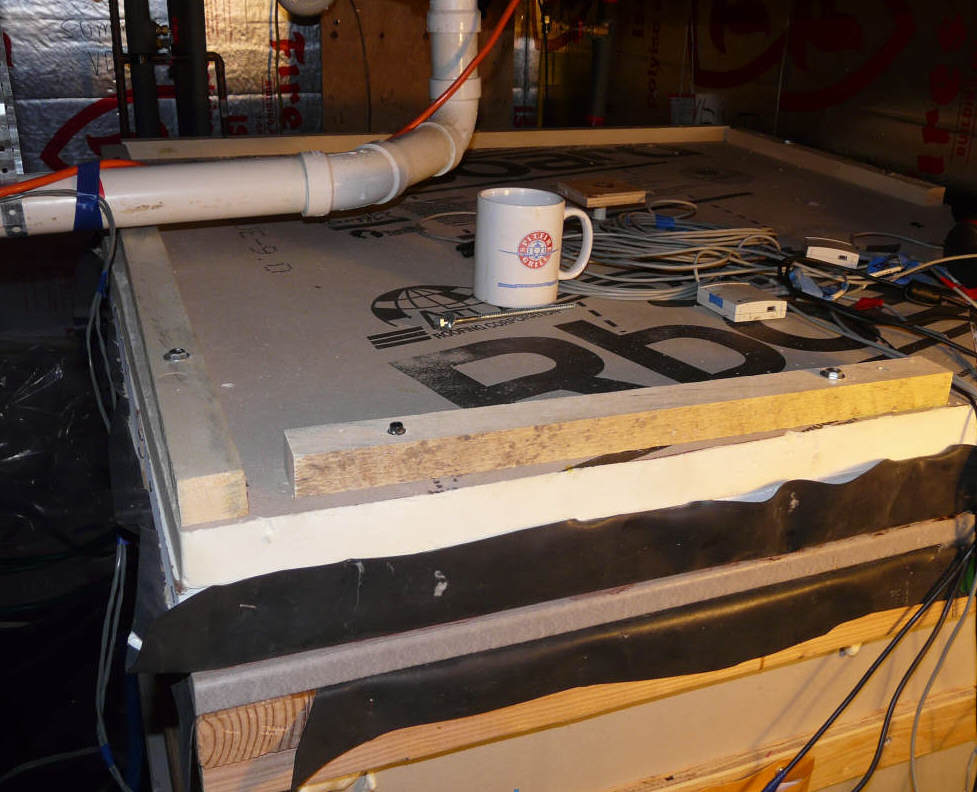
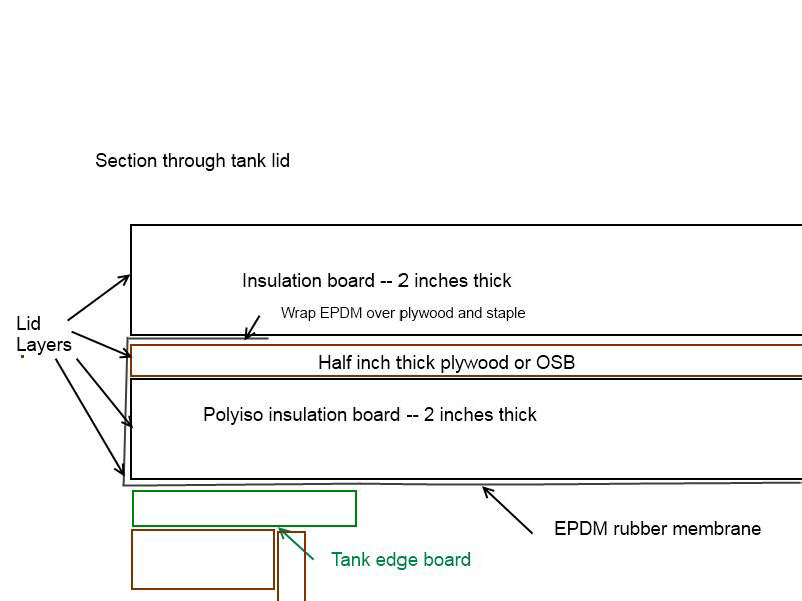
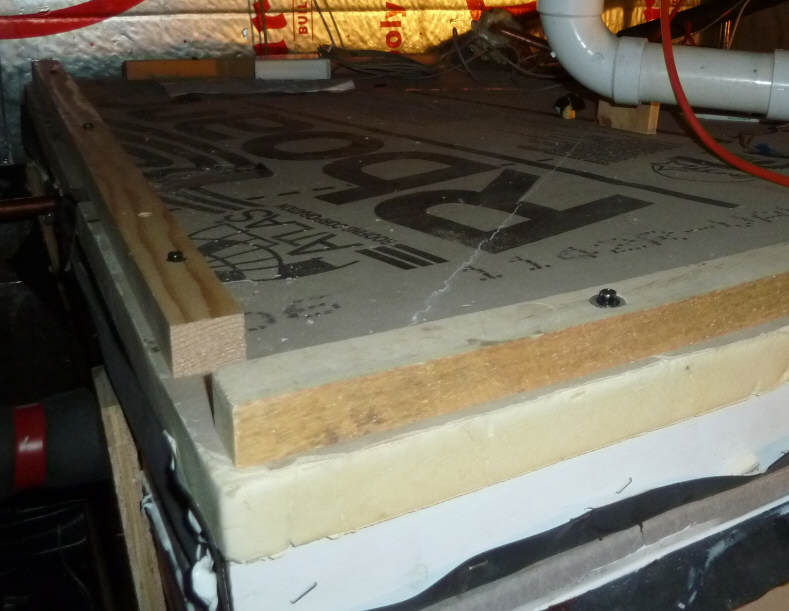
everything is the way you want it, run a bead of silicone between the
EPDM and the top frame, and then staple around the top edge with
stainless steel staples. The staples just hold things in place
until the edge boards are installed in the next step. Note on water
used to fill: If you have hard water, it is a good idea to fill the tank
with demineralized water or to collect rain water and use that.
Doing this prevents scale from building up in the plumbing and in the
collector. It is possible to make waterproof seams in EPDM using
available seaming products. Using this technique, you could make a
custom shaped liner that fit the tank without the need for all the
folding mentioned above. I strongly recommend against this based
on one person very experienced with EPDM and seaming trying this and
having the lining fail immediately.
|