Search
The Renewable Energy site for Do-It-Yourselfers
Keeping the Pipes
From Freezing in a Vacation Home
(or your home when on vacation)
|
I've received a couple emails
from people with vacation homes or cabins in cold or mountain climates
wondering about a solar (or other) solution to keeping the pipes from
freezing without having to run the furnace all the time.
The same situation applies to
people in cold climates when they go on long vacation or trips away from
home.
The usual approach is to
leave the heat on enough to keep the house/cabin from going below
freezing. This is expensive and results in greenhouse gas
emissions even when you aren't home!.
Here are 3 possibilities --
if you have others, please let me know.
|
|
Three Potential Solutions to the
Problem:
-
Removable,
Insulating Thermosyphon Solar Collectors in Windows
-
Insulating
Window Plugs
-
Drainable
Plumbing System
Removable,
Insulating, Thermosyphon Solar Collectors for Windows
For this solution, you need some
windows that get sun at least part of the day. While solar collectors work
best when facing south, this solution could also work for east or west facing
windows that get good sun.
The idea is to build removable
thermosyphon solar collectors for the windows. That's a fancy name, but
they are very simple, and should take less than half an hour a window to do.
The collectors are made from rigid insulation board, so that they not only
provide some heating, but also greatly reduce the heat loss from the windows
they are used in. The combination of solar heating plus reduced heat loss
should significantly reduce the heat fossil fuel heat needed to prevent pipe
freezing.
| |
Important
Note: One thing I want to make clear -- windows by
themselves are very good solar collectors. Building these
insulation board collectors will not make the window collect any more
heat than it would by itself. The problem with using just
the window as a collector is that it will lose lots of heat at night.
The benefit of these insulation board collectors are that: 1) they
allow the window to gain solar heat during the day, and 2) they
dramatically reduce heat loss from the window at all times. |
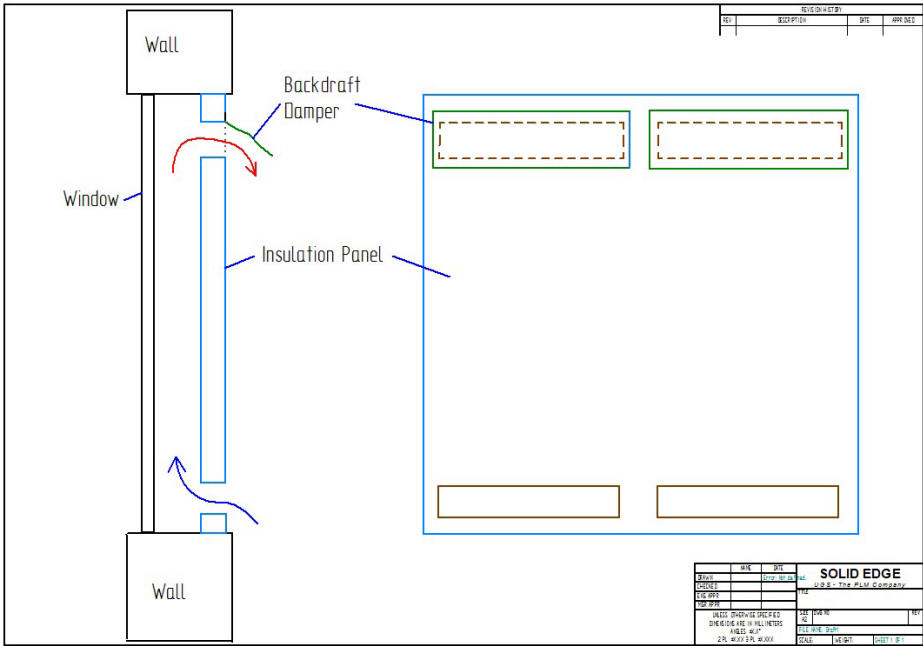
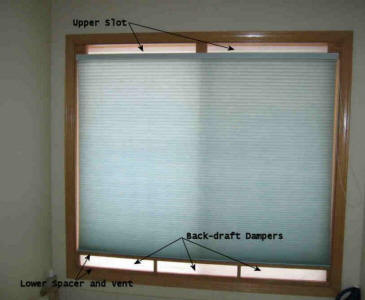
Sketch of Collector: The light blue
panel is rigid insulation board that you cut to fit the window opening.
The brown openings are holes that you cut through the insulation board -- the
lower two openings are the inlet vents and allow room air to flow into the
collector area to be heated. The upper two openings are outlet vents that
allow heated air to flow out of the collector. The two outlet
vents are fitted with poly film backdraft dampers that prevent reverse flow at
night that would cool the room.
It is best to use polyisocyanurate
insulation board, as it will hold up well to the high temperatures between the
window and the insulation board. Most lumber yards carry this insulation
board, but they may not know it by this name. If in doubt, ask to see the
insulation boards they carry -- if its the right stuff, it will say
"Polyisocyanurate" on the board face.
In operation, the sun heats the dark
surface of the insulation board, this heats the air next to the board, which
causes it to become less dense and rise, exiting the top vent. As
hot air exits the top vent, cooler room air is pulled into the bottom vent.
Here is how to make a collector:
-
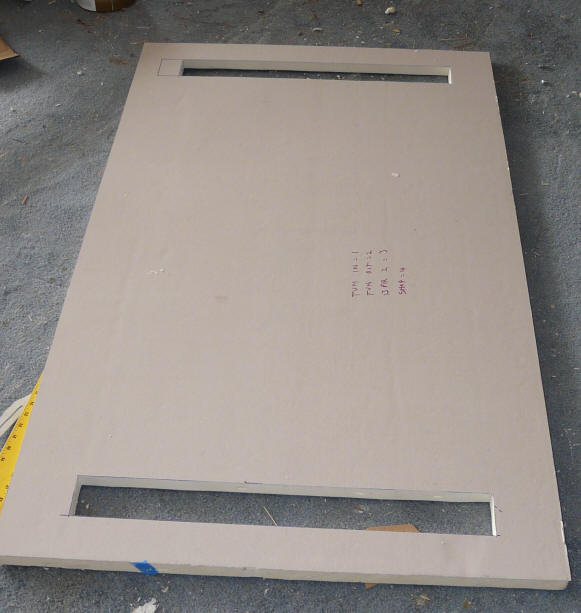
Cut the insulation board panel to
fit the window opening. The fit should be reasonably snug, but small
gaps won't effect performance much. Leave as much space between the
window and the insulation board as the window opening allows.
See picture -- the insulation board cuts easily with a razor blade knife.
-
Cut the upper and lower vents in
the insulation board. For a typical window, the vents should be about
3 inches high, and should cover most of the width of the insulation board
(the official guideline is to make the vent area at least half of the cross
section area between the window and the absorber). Mark them off with
a felt tip marker and straight edge, and cut with a long razor blade knife.
-
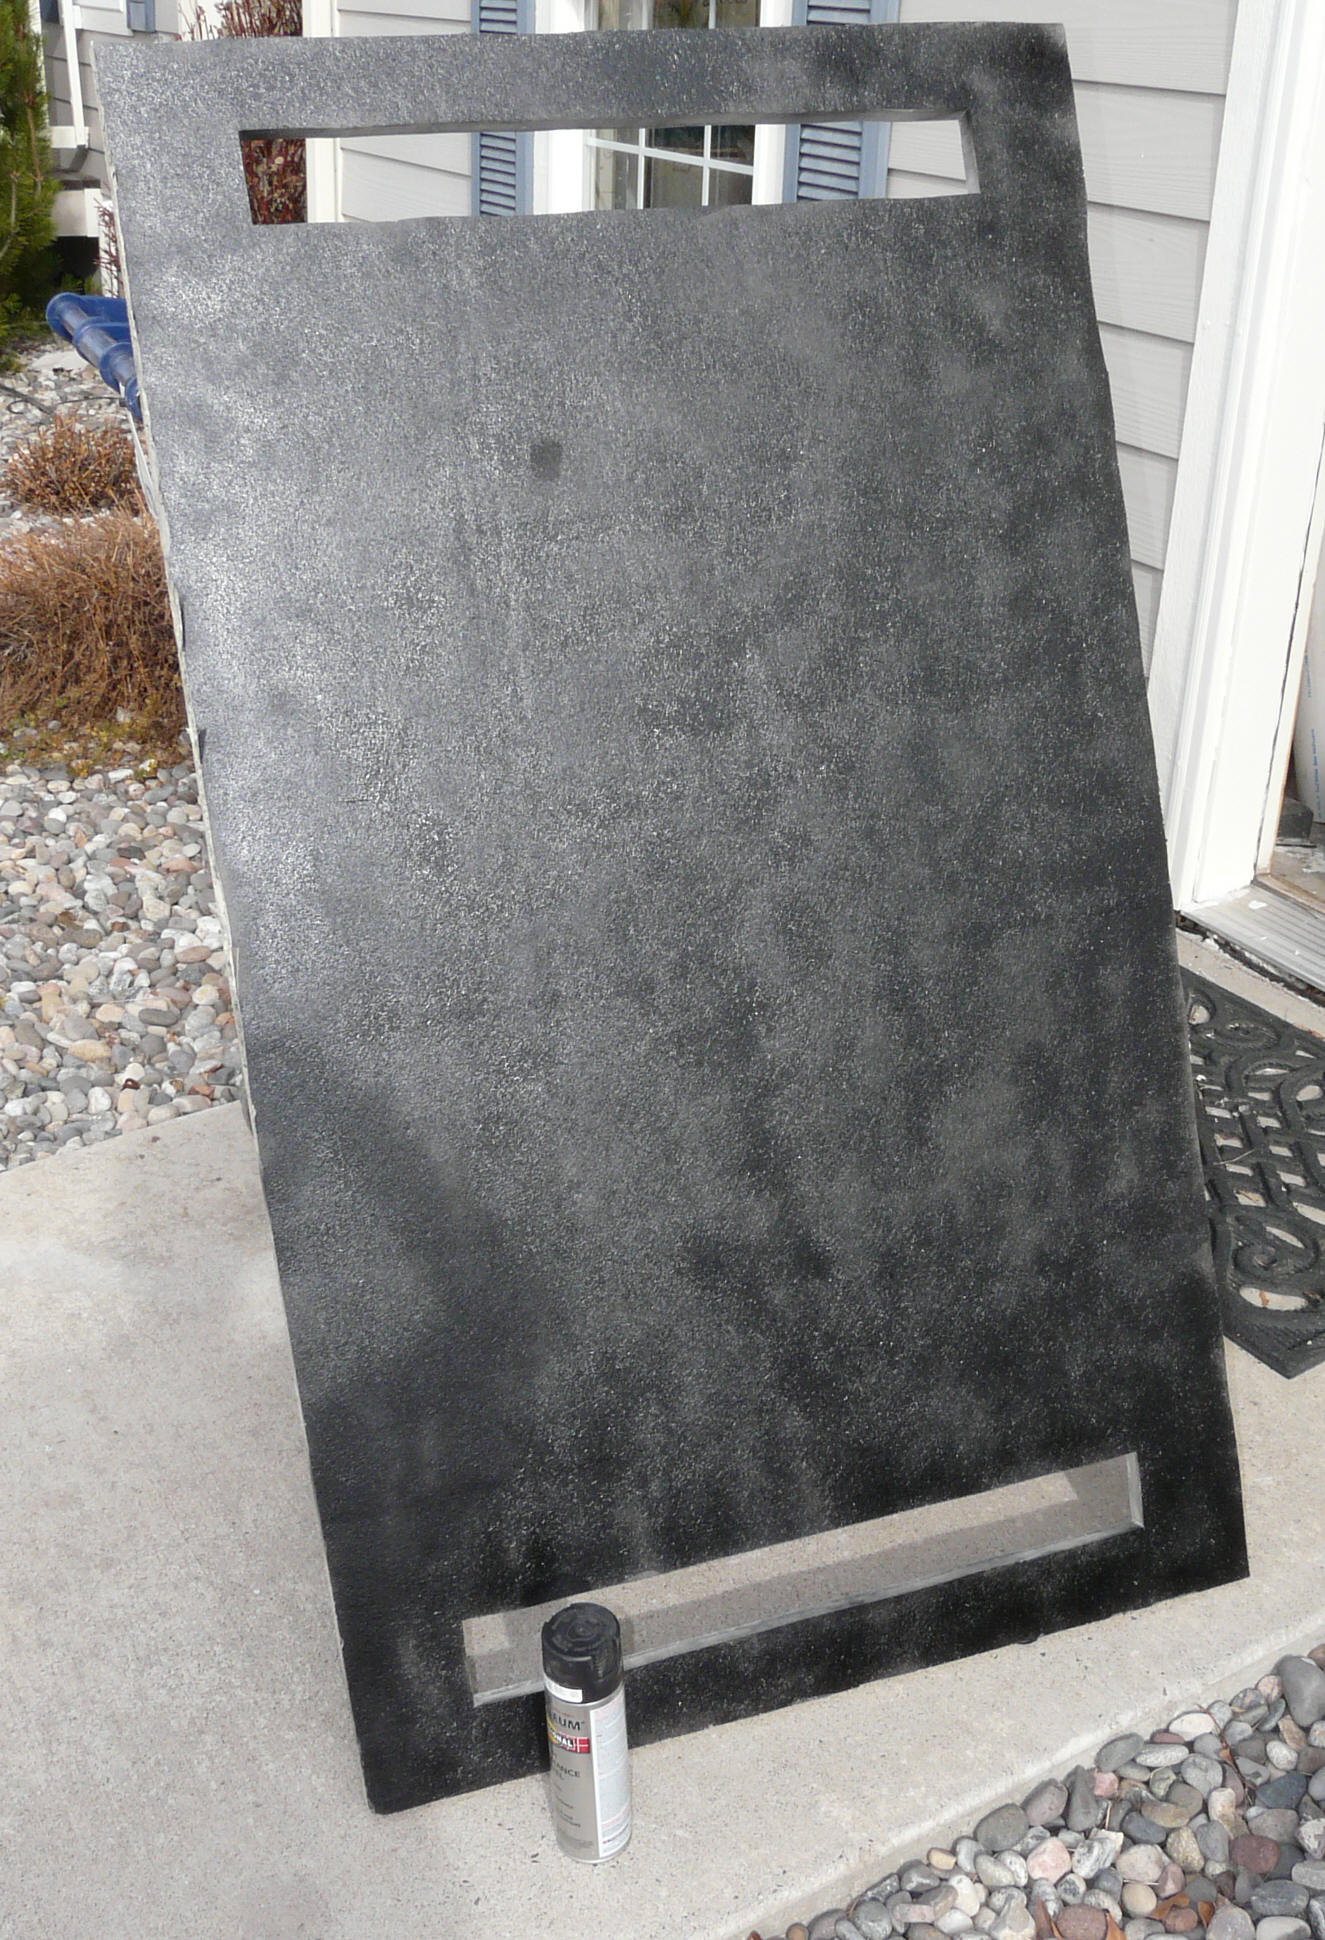
Paint the window side of the
insulation board black. If you prefer the look of a dark blue, green,
or brown rather than black, the performance will be just slightly diminished
compared to using black. It should be a dark color for good solar
absorption.
-
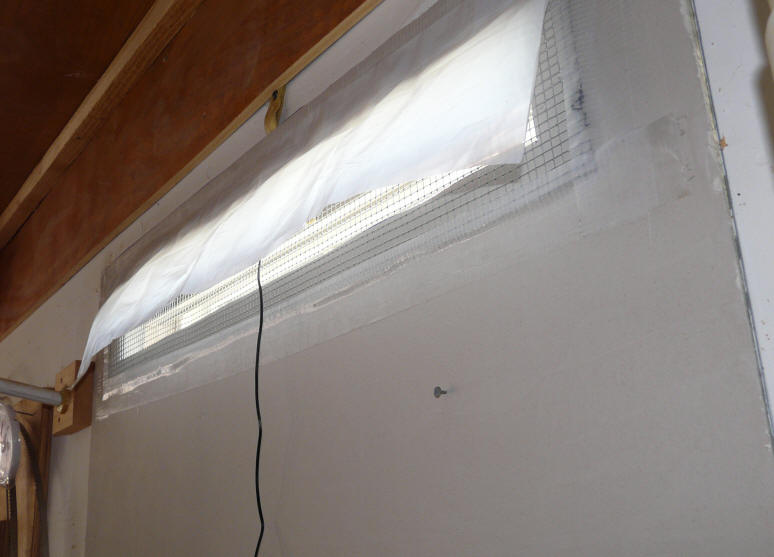
Cut a piece of hardware cloth to
fit over the vent opening and secure in place. Hardware cloth is a
coarse screen or wire mesh material that is sold (surprise) at hardware
stores. A good quality duct tape is probably adequate to hold the
screen in place. The purpose of the screen is to prevent the poly
backdraft damper film from being sucked through the vent opening.
-
Cut a piece of thin poly film
that is an inch or so larger than the vent opening for each of the top
vents. I used Costco kitchen plastic garbage bags
for this, but any thin poly will do. The poly has to be light weight
enough so that the rising hot air from the collector will push it out of the
way. Tape this to the insulation board
on the top edge only. That is, use one piece of tape along the top
edge of the poly to tape it to the insulation board. The poly must be
free to swing open when the air flow from the window cavity and out through
the top vent.
Pat yourself on the back -- you have
just made a solar collector for $1 per sqft -- commercial solar collectors cost
$30 per sqft!
Making a collector panel -- click
pictures for full size:
|
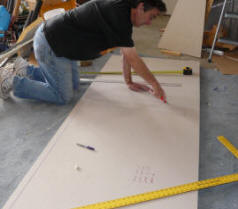
Mark lines to cut with felt tip
marker. Cut with a razor
blade knife -- takes 2 passes. |
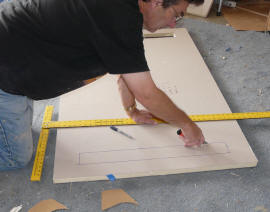
Cut the intake and exit vent openings.
About 3 inches high by as wide as
possible while still leaving good
support is usually about right. |
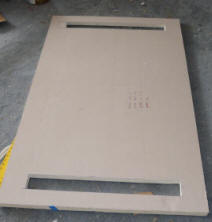
A cut out panel for a
small window. |
|
Paint the window side face
black or a dark color to
absorb sun. |
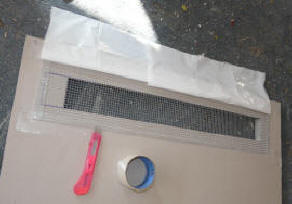
Install coarse screen over the top
vent using duct tape. Then cut
the backdraft damper from a piece of
lightweight poly film -- it needs to
be light enough so that the rising
hot air will push it out of the way.
|
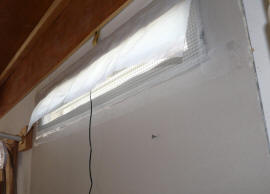
This is the backdraft damper with
partial sun on the collector. The rising
hot air from the collector has
deflected the poly film out.
With full sun, the film should be
deflected out to about 45 deg. |
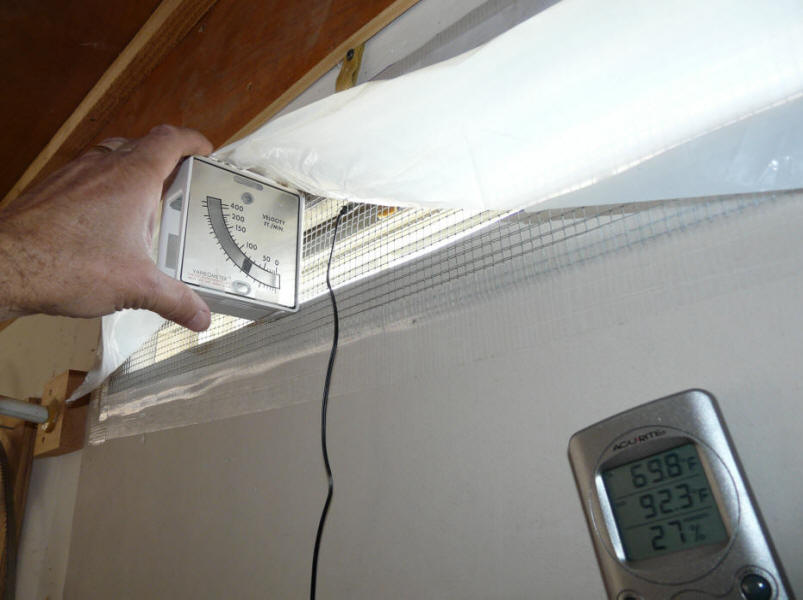
This shows the test collector
installed in a west facing window with part sun. The temperature gage only
shows a 23F temperature rise with 70 ft/min airflow through the collector under
these conditions. This is worthwhile, but it will do much better under
good sun conditions.
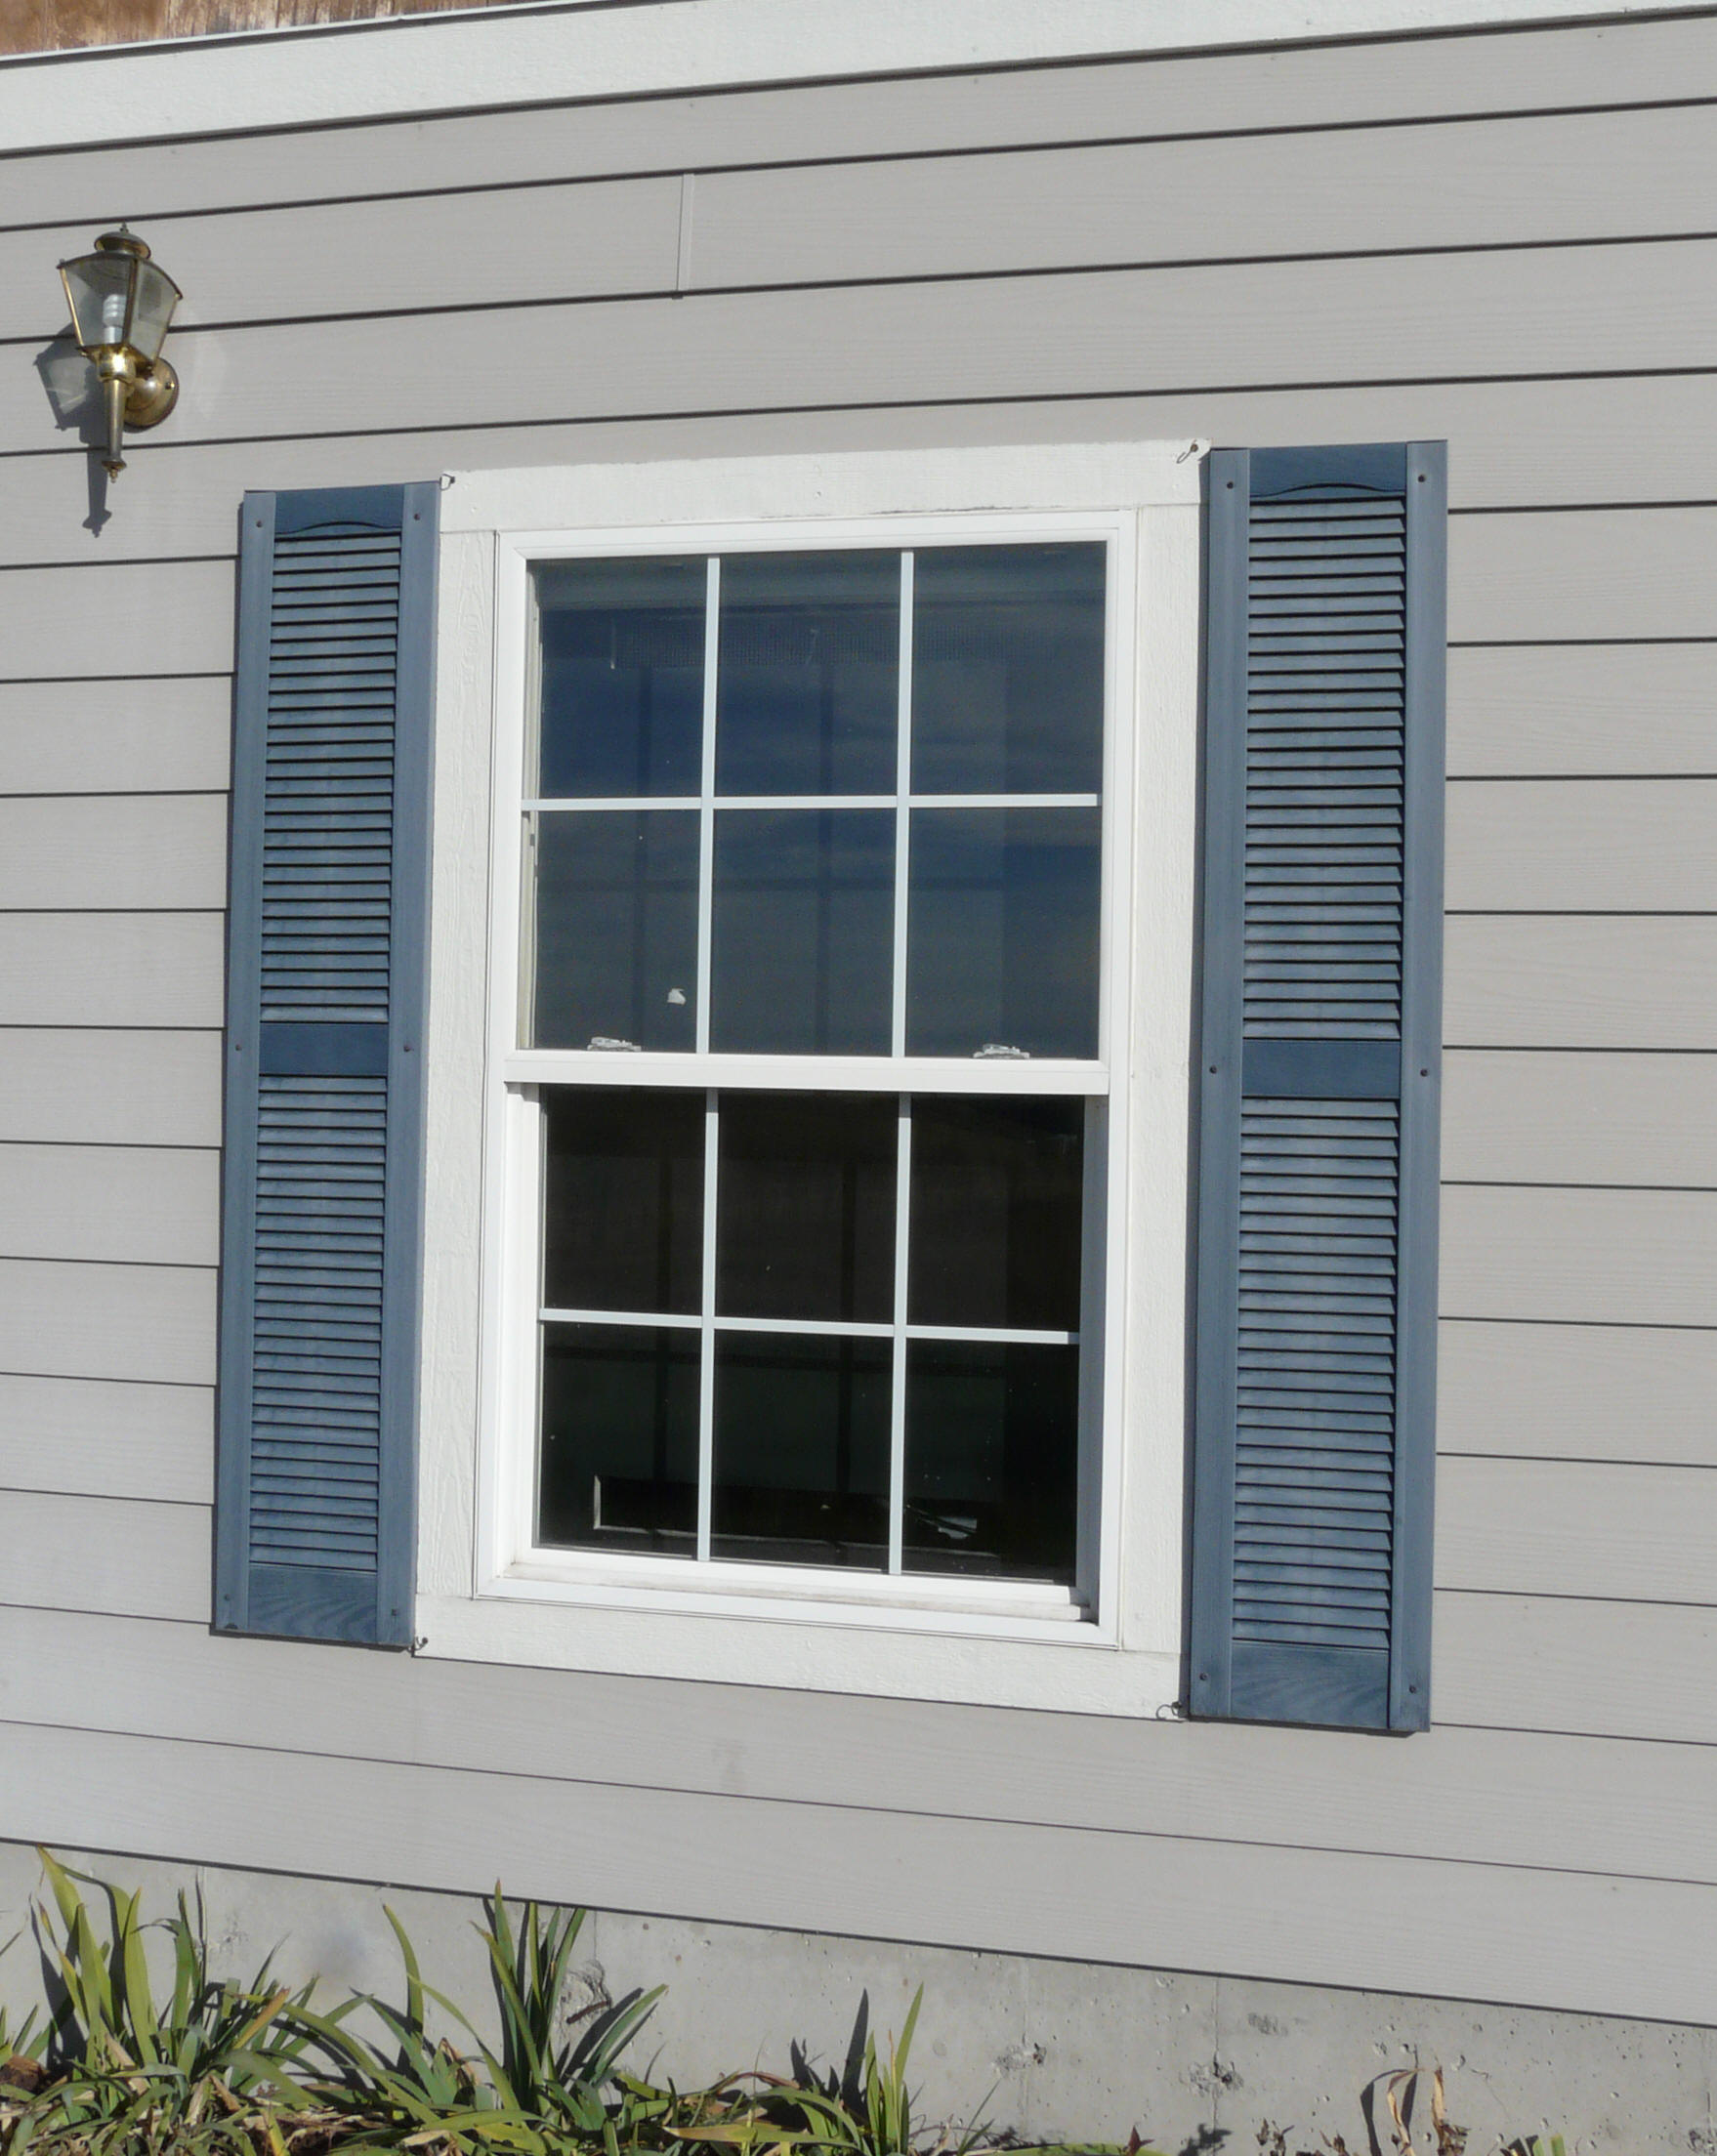
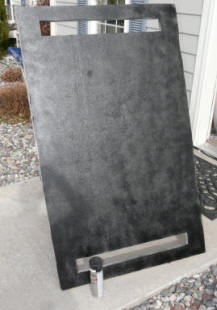
From the outside. If you don't
like the black square look, just paint the
collector any dark color.
The backdraft vents will allow the
air heated in the collector during the day to flow freely out the top vents, but
at night when the air wants to flow the opposite way (which would cool the room)
the poly gets sucked up against the hardware cloth to stop the flow. It is
surprisingly effective.
The insulation panel should fit the
window fairly well, but does not have to be perfect -- gaps of the order of 1/8
inch will not effect performance significantly. If the window is too
larger for one 4X8 insulation panel to fill, just use two panels.
One style of insulation board that
works pretty well for this application is Atlas R-Board. It
has a high R value per inch (6.7), and it comes with fiber face sheets on both
sides that will take paint well, hold up to some abuse, and look better than
bare insulation. I understand that Thermax comes in a similar style.
You could use 1 inch insulation --
this will cut the heat loss through a low-e double glazed window by 2/3rds, or
you could go for 1.5 or 2 inch for even more reduction in heat loss.
For windows with not solar gain, just
use the insulation board without any vents.
The collector shown above is for a
small window, but you can do the same thing for windows of any size.
It will, or course, be even more effective for large windows. Some
vacation homes have very large view windows that are huge sources of heat loss,
so adding these panels will make a large difference.
The Cellular Shade Version of a
Thermosyphon collector
Another variation on this type of
collector that can be left permanently in place is
described here...
This arrangement uses a regular
cellular shade with collector vents above and below the shade. When the
shade is down, it acts as the absorber for a thermosyphon collector.
The backdraft damper on this
collector is located on the inlet vents rather than the outlet vents.
This achieves pretty good window R
values and some solar heat collection with an arrangement that looks good and
can be left permanently in place.
Like the other collector, this will
only be effective on a window that gets some sun during the day. Its
probably not worth the effort for windows that get less than a couple hours of
sun on a sunny day.
Insulating
Window Plugs
For windows that don't have sun
exposure, you can use the same type of rigid insulation panels described above
for the collector, but just leave out the vents and backdraft dampers.
A set of these panels that are
applied before you leave will dramatically reduce fuel consumption, especially
for the cabins/vaction homes with the big expanses of window.
Even a 1 inch thick rigid foam panel will cut the window heat loss by about
2/3rds.
All of the other methods that cut
heat loss, such as more insulation, better sealing, ... will also help both when
you are there and when you are gone.
Closing off areas that don't have
plumbing to protect will also reduce heat loss.
Draining the
Plumbing System
I used to be involved in a volunteer
labor ski area that was only open on weekends. At shutdown time on Sunday
afternoon, we shut off the water supply and opened a valve that drained all the
ski lodge plumbing to an outside drain. We then went around and opened all
the faucets to allow air in so the water in the pipes would drain. In
addition, the toilet tanks and traps were drained, and the hot water tank was
drained. This system allowed the ski lodge to be left all week in weather well
below freezing without any damage. The lodge has been operating since the
1920's, so its a pretty well proven system :)
In this ski lodge, the plumbing runs
were sloped for drainage. In a home or cabin without sloped plumbing it
might be necessary to use some compressed air to blow the water out of the
lines, but it should be possible to work out a system to do that fairly easily.
For example, at same point where you add the plumbing drain, add a fitting for
compressed air.
One caution is that when you return
to the house, you must heat the house up to above freezing BEFORE you turn the
water back on!
This is probably the best all around
way to go in that no heat at all is needed, and you don't have to worry about a
furnace failure, or thermostat failure, or running out of propane, or your
furnace burning the cabin down. Its a nice simple way to go with zero
energy use and zero CO2 emissions.
Any other ideas ?? Please let
me know
Gary...
Gary October 28, 2008