Search
The Renewable Energy site for Do-It-Yourselfers
How the Riversong Modified
Larsen Truss Design Evolved
|
Robert Riversong describes below the how his version of the Larsen Truss evolved
through several home construction projects. He provides much useful
construction detail for the truss, and for other sustainable building and living
practices.
For a more detailed description of
the Larsen Truss design he uses now look here ...
Thanks again to Robert for providing
material on this very well thought out design.
|
|
Larsen Truss
Robert Riversong
John Larsen of Canada invented a
simple parallel-chord wooden truss as a method for superinsulating existing
houses. The idea was to strip off old siding and cut off existing roof
overhangs, nail trusses onto the walls and over the roof, creating a new
overhang. Then new sheathing, siding and roofing could be applied, and perhaps
new windows. Alternatively, the existing windows could be left in place
and extended exterior window boxes and sills created. This would turn an
old, drafty house into a superinsulated home without any disturbance to the
living space (unless windows were replaced).
The truss cavity could then be filled with blown
insulation. Additionally, a vapor barrier could be applied over the existing
wall sheathing before installation of trusses without fear of condensation as
long as 2/3 of the R-value of the envelope is outside of the barrier.
I learned about this wall system when I studied
energy-efficient building at Cornerstones School in Brunswick Maine in 1982.
The school was spun off from the nation’s first owner-builder school, Shelter
Institute, and founded by engineer Charlie Wing (author of From the Ground Up,
From the Walls In, and the recent Visual Handbook of Building and Remodeling).
The lead instructor was Dale McCormick (author of Against the Grain: A Carpentry
Manual for Women) and the one of the first women to become a union carpenter. I
also read about it in Don Booth’s seminal book Sun/Earth Buffering and
Superinsulation.
But, before I used the Larsen Truss approach, I
experimented with a variety of double stud wall systems, each of them
problematic for a variety of reasons. When I was asked to build a low-cost home
and pottery studio for a wonderful couple who had been saving for 14 years, I
decided to try the Larsen Truss.
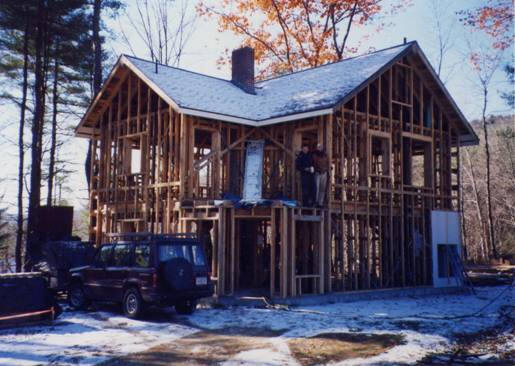
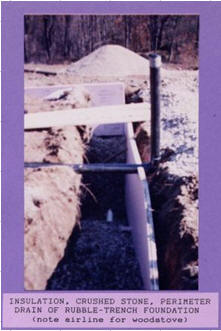
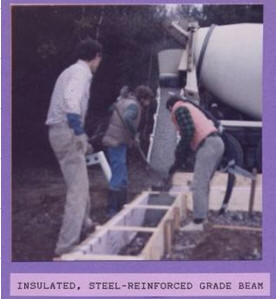
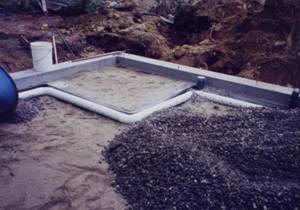
This
house was built on a foam-insulated reinforced concrete grade beam on a
rubble-trench foundation, with an insulated flagstone on sand bed first floor.
All the framing was green rough-sawn lumber custom milled to full dimension.
The load bearing walls were 2x6 for the first floor and 2x4 for the second, set
on PT plywood subsills on recycled tin printing plates for insect barrier.
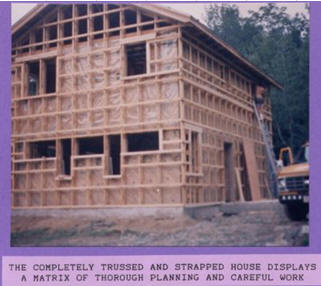
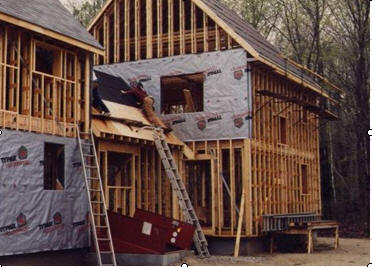
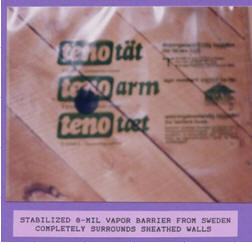
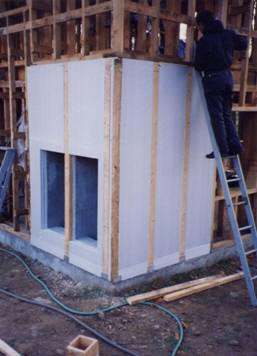
The exterior walls were sheathed with rough-sawn diagonal
boards and then wrapped with 8 mil stabilized Swedish Tenoarm vapor barrier,
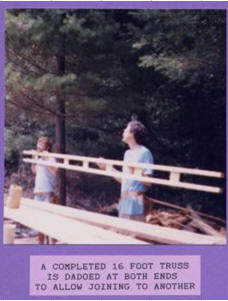
installed like housewrap with one taped seam. The trusses were fabricated by
ripping KD 2x4s, dadoing 3/8” slots 24” oc, and glue-nailing plywood gussets
into the slots. They were a standard 16’ in length with dadoes at each end for
splicing to another truss section.
The prefabbed trusses were then nailed to rafter tails,
through the sheathing to 24” oc studs, and extended to sit on a bottom plate on
the plywood subsill. Because the owners wanted vertical siding, we nailed
horizontal 2x2s 24” oc and then wrapped Typar over the cross-hatched
exoskeleton. Pre-stained shiplap siding was installed over all.
The system was a bit labor-intensive, but there was only
one other paid carpenter and the homeowners comprised the rest of the crew.
 |
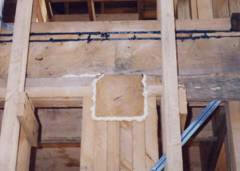
The primary drawback of the system was that we were left
with two insulation cavities. I wanted to use blown cellulose, but to get in
into the truss cavity now that it was sided we had to use a holesaw to cut
through the inner sheathing and the vapor barrier. I used the Tenoseal adhesive
which came with the Tenoarm to seal the holes with plastic patches after the
insulation was installed. But, since I didn’t feel like renting the cellulose
blower again and making holes in the drywall, I decided to insulate the inner
wall cavities with unfaced fiberglass. Because this was my first attempt at
blowing cellulose and I had access only to a rental blower of questionable
quality, I was concerned about potential settling under the deep plywood window
boxes. So, since I had fiberglass on site, I stuffed an R-19 unfaced batt under
each window box so that it would be compressed by the dense-pack cellulose and
re-expand if there were to be any settling.
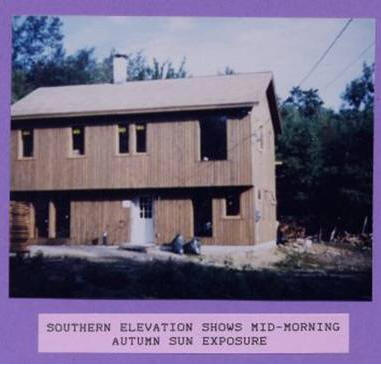
The house was certainly a success, operating as designed
to require only 4/5 of a chord of wood per year to heat. It used the small
Yotul woodstove as the exhaust system and relied on passive make-up air inlets,
some of them site-built to take in air under the south garrison overhang and
duct it both to the downstairs ceiling and through the upstairs floor. The
woodstove also had a subfloor combustion air inlet that terminated at a floor
register near the hearth. And a radon vent went from under the slab to above
the roof.
The 1400 square foot studio/house was completed in 1987
for $48,000 including site work, well and septic. It won a Citation of
Excellence from a national Energy & Resource-Efficient Design Competition
sponsored by the Northeast Sustainable Energy Association.
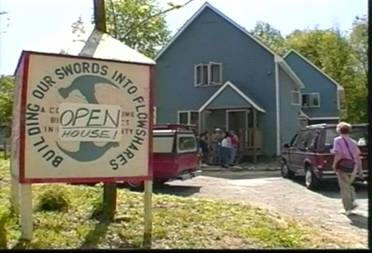
My next opportunity to use the Larsen Truss was in 1993,
when I volunteered to chair the design committee for a community-based
non-profit building project called Building Our Swords Into Plowshares, which
was the Gandhian “constructive project” of the 18-month long War Tax protest in
Colrain Massachusetts following the IRS seizure and auction of a home. With the
help of architect Bruce Coldham, I eliminated the problems of my first
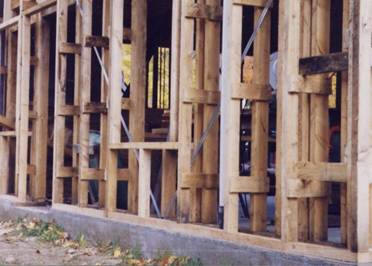
experience by creating a “modified” Larsen Truss, using the load-bearing studs
as the inner chord of the truss. By installing metal T-bracing in the frame for
rack bracing, we eliminated the need for sheathing, used less lumber and created
a single insulation cavity to be filled with dense-pack cellulose. We also used
horizontal novelty drop siding so that additional nailers were unnecessary.
This proved to be a simpler, more resource-efficient, and
easier-to-insulate wall system. Instead of vapor barrier, we employed the
Air-Tight Drywall Approach (ADA), which involved caulking each framing layer to
the next at the perimeter with Tremco acoustical sealant, and applying the same
sealant to top and bottom plates as drywall went up. Polypans were also used
around electric boxes, whose wide flanges offered a caulking surface for the
drywall membrane. This was actually less work than installing a continuous
vapor barrier. To make the inspector happy, we used Glidden vapor retarder
primer (no longer available, but Sherwin Williams makes one).
The Plowshares duplex was completed with the help of 300
community volunteers, and eventually was transferred to Pioneer Valley Habitat
for Humanity along with an extra lot on which they built another single-family
home.
Frame is KD 2x4 and trusses are 2x4s ripped into 2x2s with
plywood gussets.
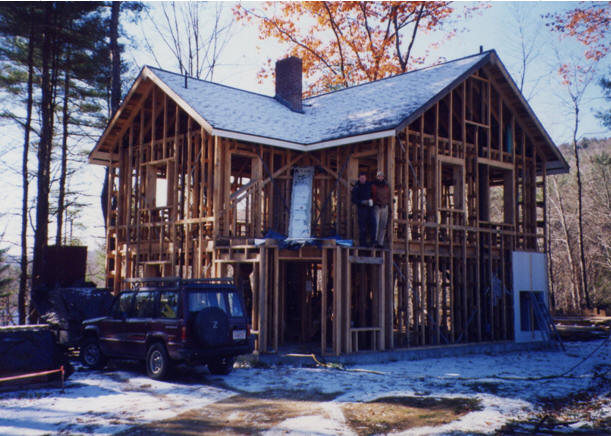
The next time I had an opportunity to design and build a superinsulated house
was for some dear friends of mine I had known at the Noonday Farm Catholic
Worker community in north central Massachusetts.
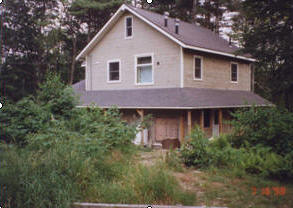
This would be a 1440 square foot, 3-bedroom home
overlooking an organic farm field. Initially, they had considered an earth-bermed
house with concrete walls tucked into a south-facing slope. But when they
realized they could have a highly energy-efficient passive solar home with views
of their farm field, good daylighting and ventilation, they were happy to shift
gears and scrap the plans drawn up for them by an engineer friend who had
designed America’s first Peace Pagoda for the Nipponzan Myohoji Buddhist order.
So we spent the winter designing and planning a modified
Larsen Truss home which was to include a solar-heated indoor planting bed, wood
heat and cookstove, provision for heating hot water with a coil in the cookstove,
and Massachusett’s first approved site-built composting toilet. It was also
built to the Energy Crafted Home program which offered incentives for
efficiency.
Because the homeowners wanted to store solar heat for
their planting bed in six 50-gallon black plastic barrels behind south-facing
glazing, I suggested that we install radiant tubing in the slab with a
circulator and aquastat so that, if there were enough temperature rise, excess
solar heat could be stored in the floor. As I suspected, however, there was too
little surface area to volume ratio in the barrels to get the water hot enough
for efficient heat exchange.
The slab was poured inside a shallow, frost-protected grade
beam and on top of radon mitigation piping. The frame was a hybrid stick and
timber frame, with exposed interior load-bearing timber bents using a simplified
pegged joinery system that I designed.
Radon piping |
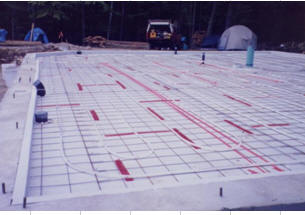
Radiant Tubing & Wire Mesh on R-10 Foam |
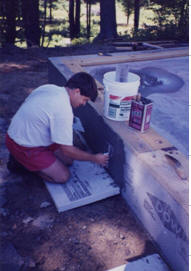
Parging the exterior foam with surface-bonding cement over hardware cloth |
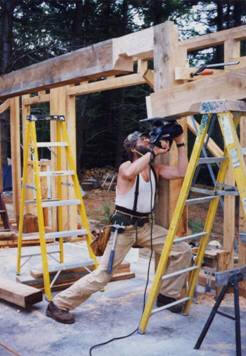
Trimming Timbers |
Superinsulated Compost Chambers |
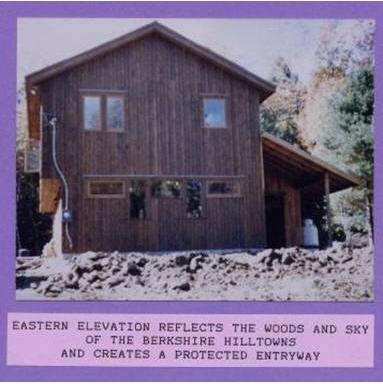
The house was built entirely of
local rough-sawn hemlock, including subfloors and roof sheathing, and the siding and trim was planed local
hemlock prestained in a dipping bath.
The interior load-bearing 2x4 frame was braced with let-in
steel T-bracing, and the outer truss members were 2x3 with 1x4 gussets to tie
them to the structural studs.
The air-tight drywall system was used to make the envelope
impervious to infiltration and to avoid the need for a vapor barrier.
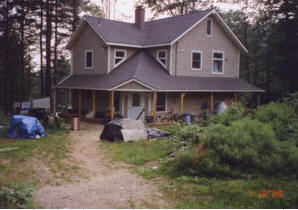
Northeast Entry
|
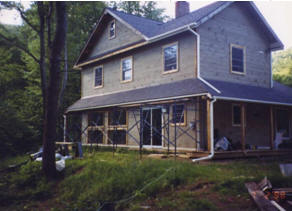
South Façade with Solar Shading |
 Northwest Corner with Compost Cleanouts and Turbine Vents
on Roof |
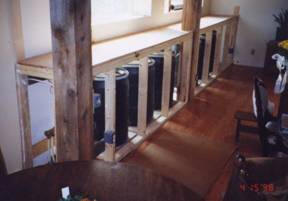
Water Barrel Solar Storage
|
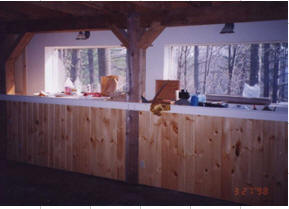
Finished Planting Bed |

Tiled Entry
|
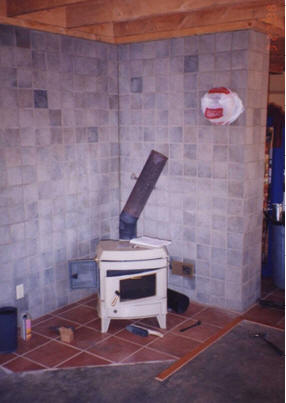
Tiled Woodstove Surround & Hearth
with exposed timber ceiling |
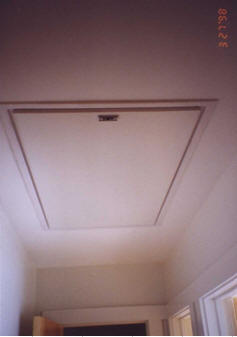
Air-tight Pull-Down Attic Stairway |
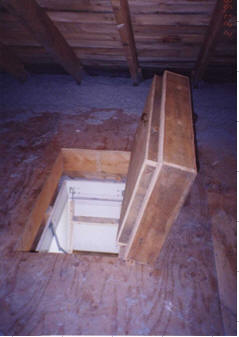
With Superinsulated Hatch Above |
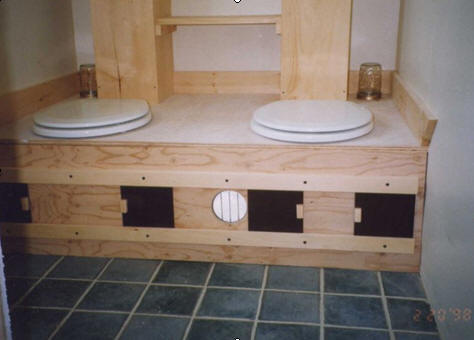 Indoor Two-Holer with Intake Vents, Exhaust Chases, & Fly
Catcher Jars |
|
The house cost a little more than
$100,000 (about $75/sf)
to build in 1998, and was designed to require 4/5 of a chord of firewood per
year for heat, in addition to passive solar gain. Indoor ventilation is
provided by passive fresh-air inlets, with bath and kitchen fans as well as
woodstove and wood cookstove serving as exhaust fans. The woodstove has a
nearby combustion air inlet register in the base of the chimney.
The compost toilet has been supplying clean loam for ten
years.
March 7, 2008