Large Horizontally Oriented Water
Heating Collector with a Unique Heat Storage System
This is a very nicely done solar water heating project with some
unique design features. The
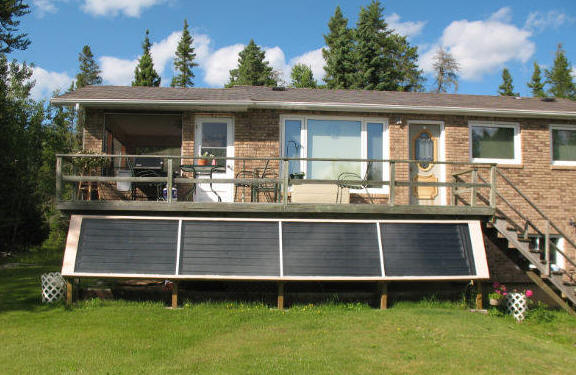
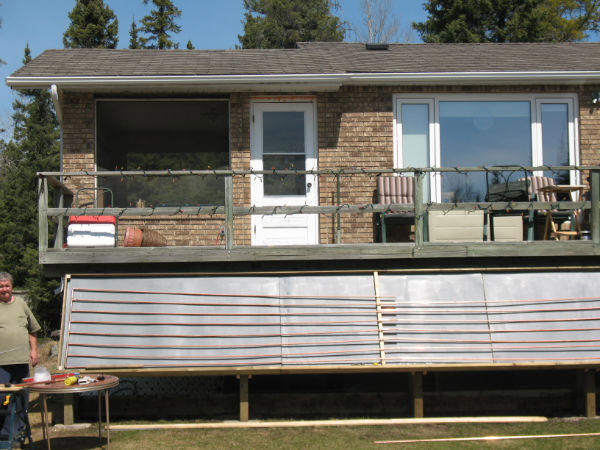
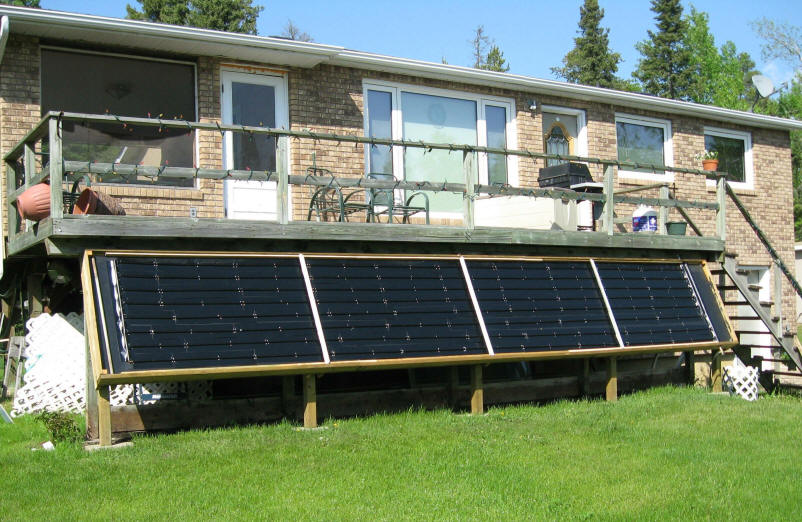
wide but not too tall collector provides 100 sqft of solar space
heating, and blends in with the house very well.
The heat storage system has some unique features, and the collector
uses a unique long, horizontal "riser" instead of the usual vertical
ones -- for this kind of wide collector, this greatly reduces the
number of joints and fittings.
While the system is currently used primarily for domestic water
heating, the collector is large enough to provide some space heating
as well.
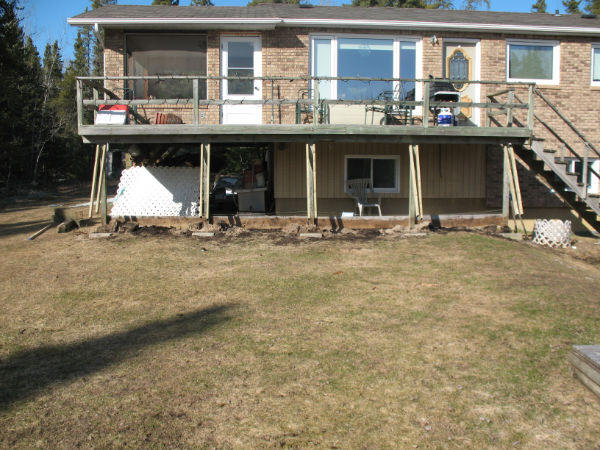
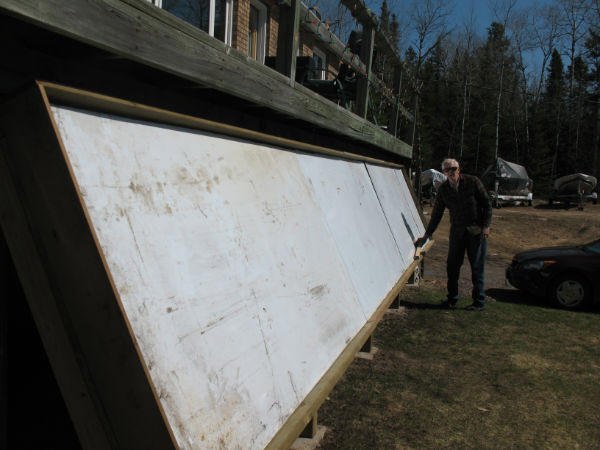
The finished collector.
Thanks very much to Bob and Dave for sending in
the details on the project!
Planning the System
This project started when I was able to find 4- 4 ft X 6 ft tempered
glass panels at our local waste transfer station. I had these panels
stored at my house for a few months knowing that sooner or later I would
be able to incorporate them into a solar panel of some sort. Having
already built and installed a 64 sq ft hot air panel and a 64 sq ft hot
water system on my own house and a hot air panel on an ice fishing shack
I was fairly knowledgeable in what was required and the amazing amount
of heat in all temperature conditions that such devices were capable
of. On a casual visit to my friend Dave's house it occurred to me that
his location was ideally suited for a solar hot water project.
The next step was to convince Dave and most importantly his
wife Bonnie that because
1) he heats his house with fuel oil and could save probably $500/year
on a $2000 investment
2) I was willing to build the panel with him with no charge for my
labor.
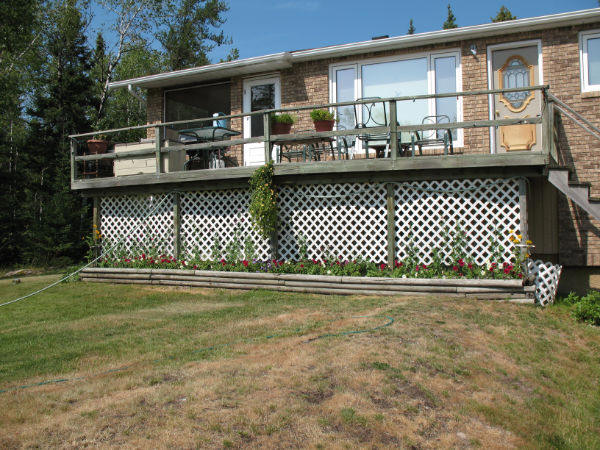
3) We could make it attractive fitting in nicely with his existing
deck.
Once I showed Dave how my own system worked and with a picture
of his house and using Microsoft Paint to show him what the completed
project would look like I got the OK to start the build.
Throughout last winter I acquired 4 - 45 gallon plastic barrels
from a local car wash as well as 4 smaller (I am guessing 20 gallon
plastic barrels) that my friend at the car wash has his soap delivered
in and gave them to me for free. A local grocery store chain
happened to be doing a major renovation around this same time so I was
able to get 5- 4X8 metal faced 3" thick foam insulation boards from the
freezers they were replacing. Once again at my favorite price (free).
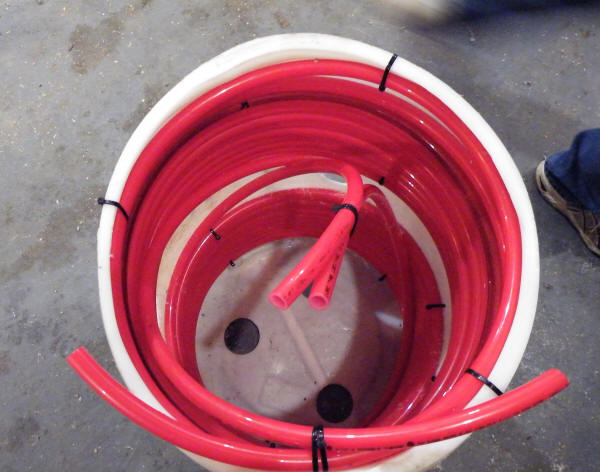
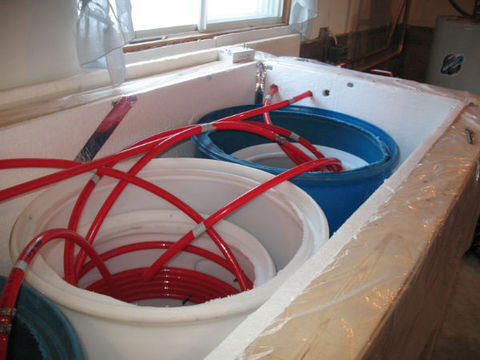
Heat Storage Vault
Closer to spring we started the build in earnest by building the heat
storage Vault. Another friend of mine Brian suggested that we use the
smaller barrels to form the Heat Exchangers and then place these smaller
barrels inside the 45 gallon drums.
We purchased 300 ft of 5/8" pex and got to
work. The idea of the barrel in a barrel worked very well and allowed
us to complete the heat storage system fairly easily.
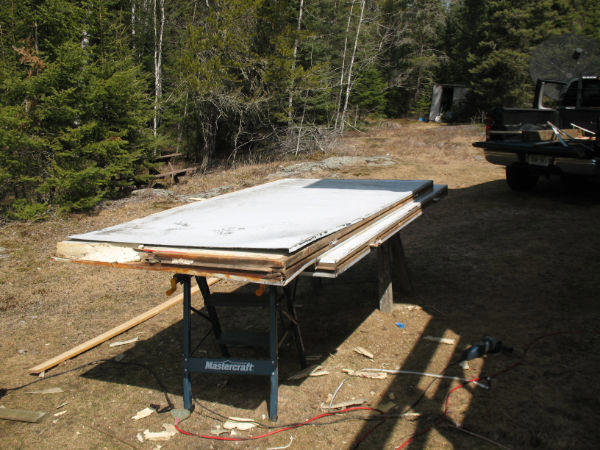
Absorber Plates
Originally the plan was to simply buy off the shelf heat spreader
plates . When checking the price and quality of these plates I thought
that with a little work we could build better plates for a cheaper
price. The commercial plates were only about .012" thick and would cost
over $3 per 2 ft plate or $300 for 100 sq ft. I ended up buying 100 sq
ft of .024" black aluminum flashing for $180 that I had cut into 6 inch
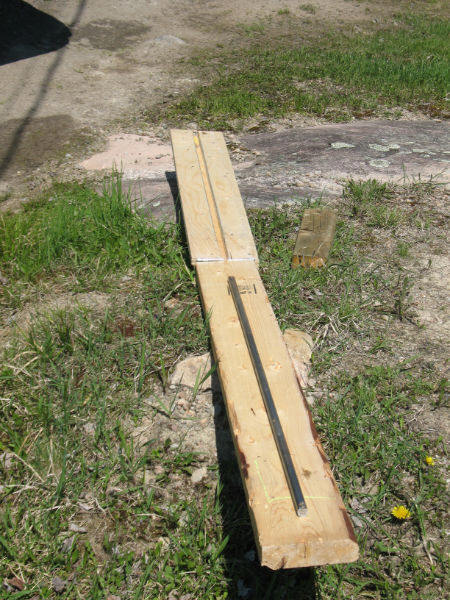
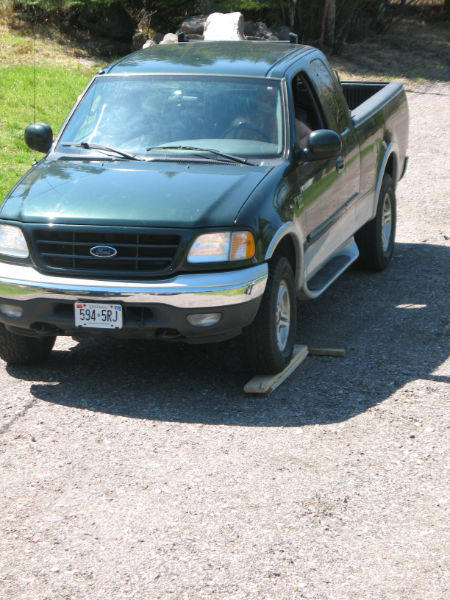
widths. I considered forming the plates using the proven method of a
forming jig, a 5/8" steel rod and a sludge hammer but decided to try
rolling over a hinged form using the weight of a 1/2 ton truck to drive
the 5/8" rod into the plate and into the slot in the plywood. The first
try using my Toyota Tacoma had limited success but once we switched to a
heavier Ford F 150 we were in business. It took very little time (maybe
1 hour) to form the 100- 2 ft absorption plates. It did take about 2 or
3 passes of the truck tire to press each plate and we completed the job
with a few whacks with a sludge hammer just to make sure the grooves
were very well formed.
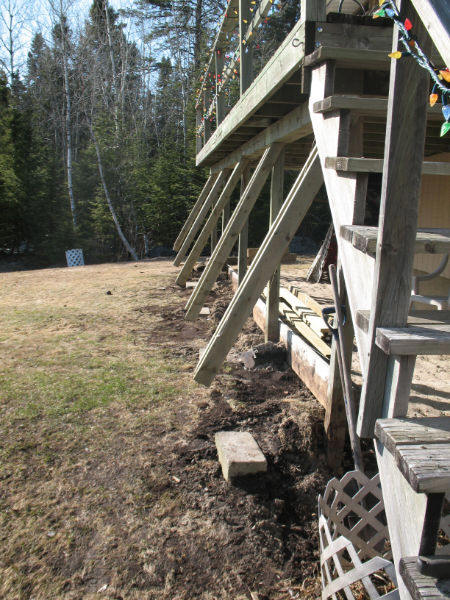
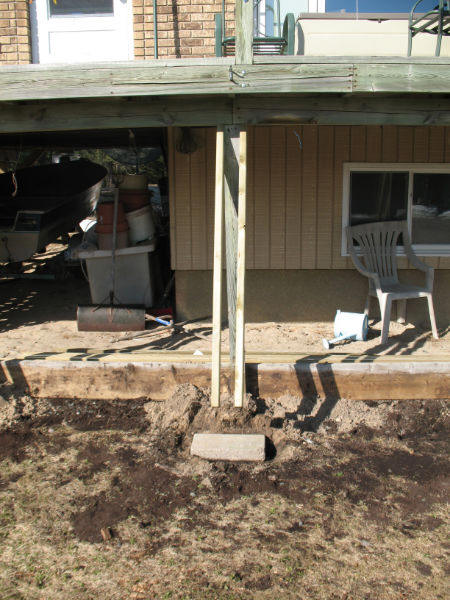
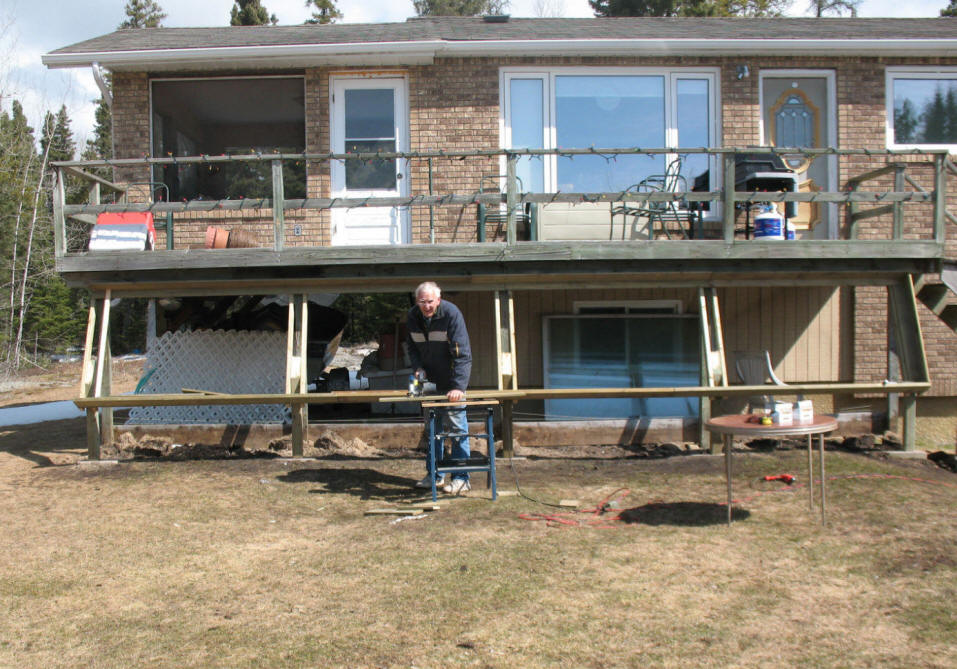
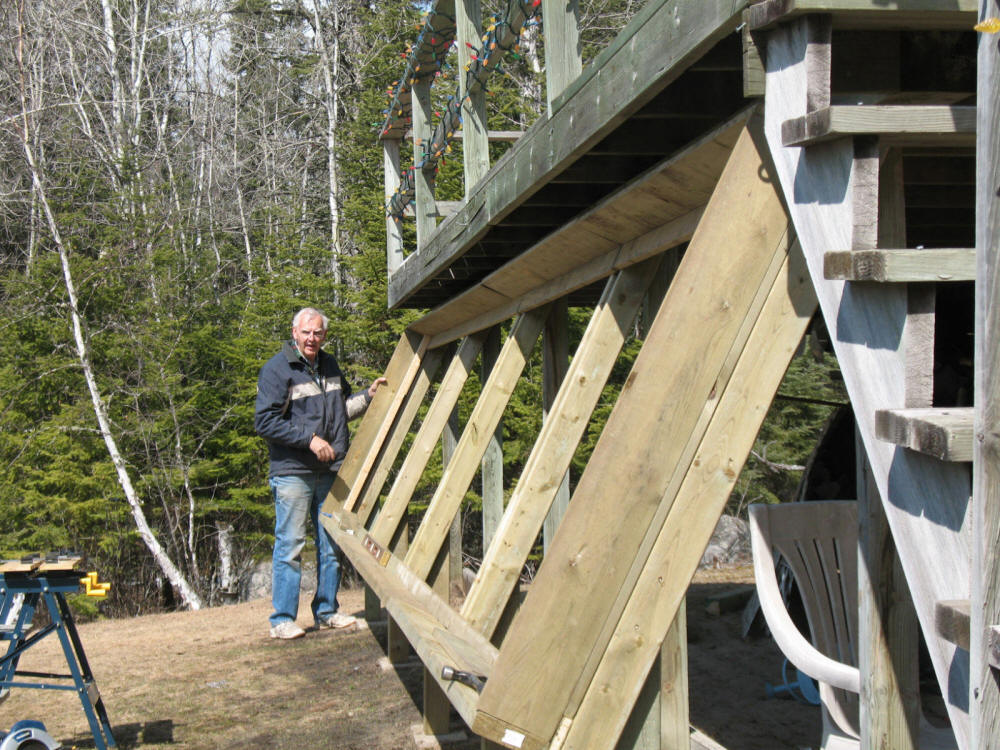
The panel construction was fairly standard using treated lumber
throughout and making use of the rigidity of the foam insulation panels
to form the back of the panel as well as the surface for attaching the
absorption plates to. We also made use of the existing deck posts for
the back legs of the panel.
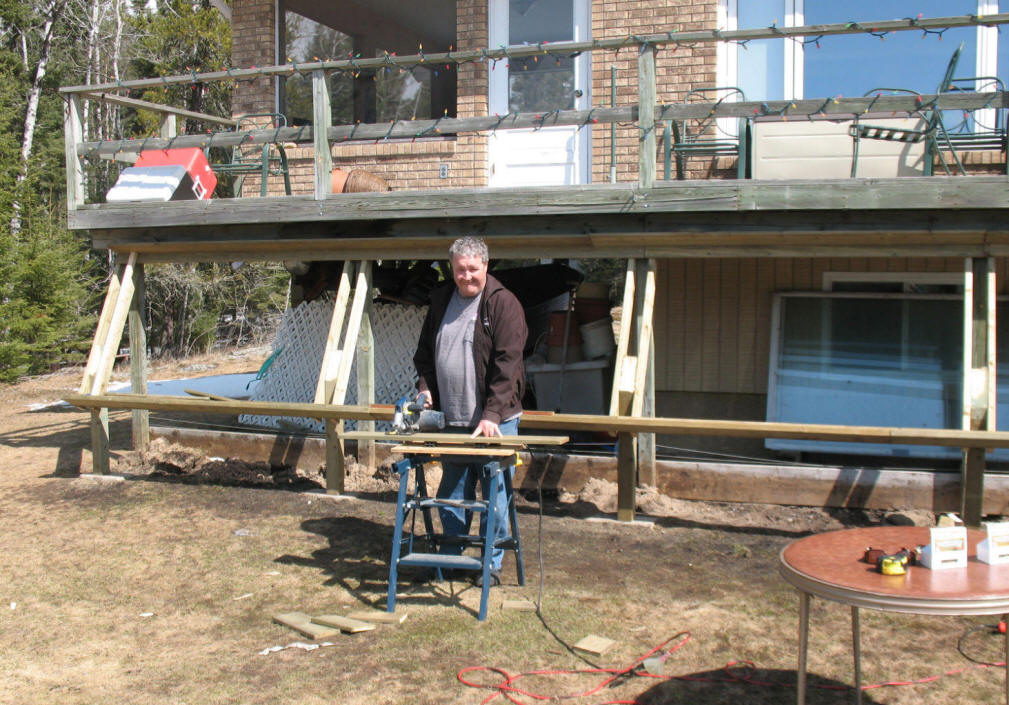
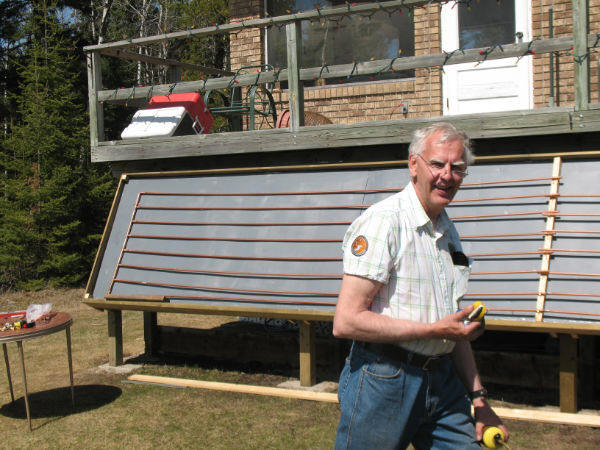
Bob at work.Bob at work.
Dave at work.
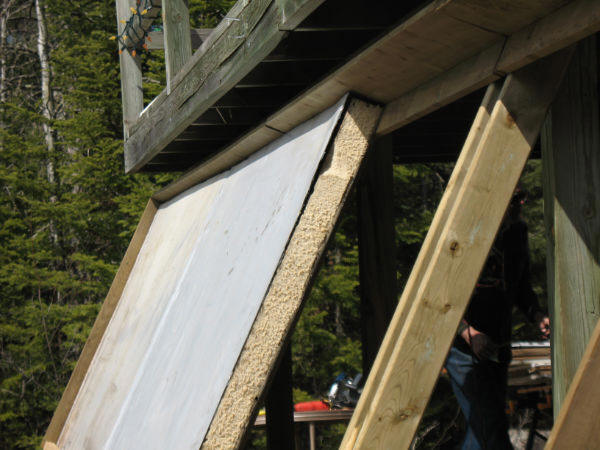
Framing ready for insulation.
Salvaged insulation for collector.
Insulation board cut to fit.
Back insulation complete.
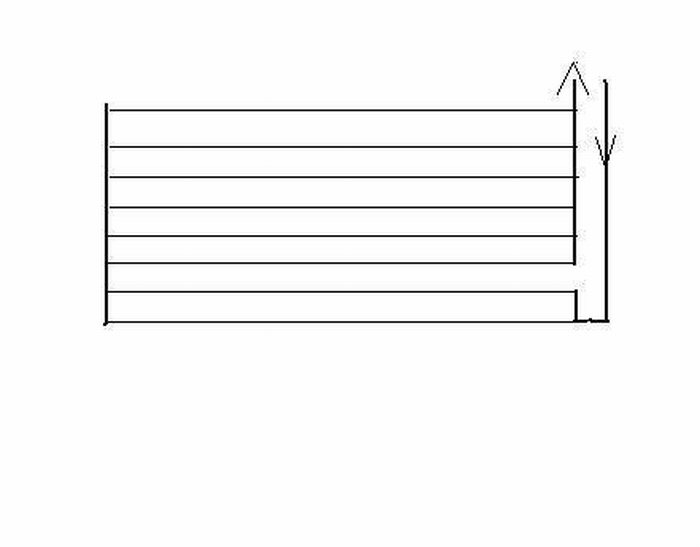
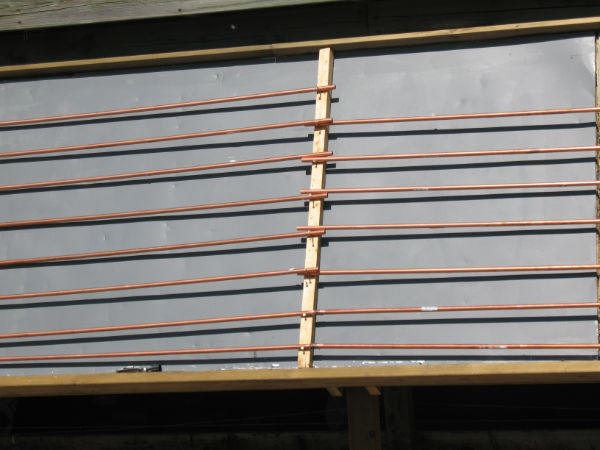
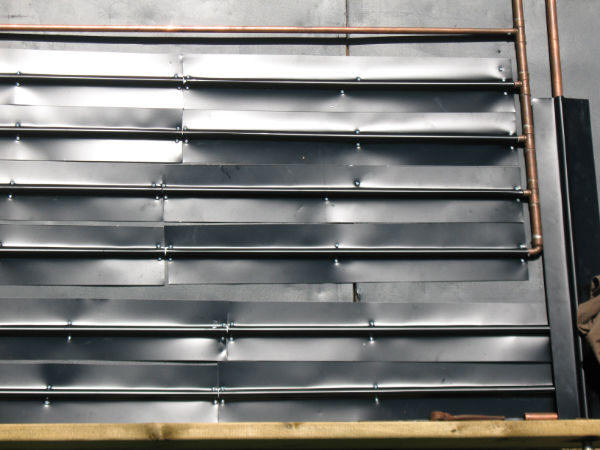
In order to reduce the number of solder joints and T's we started
exploring the possibility of running the 1/2" copper tubing horizontally
with 3/4" manifolds on each end instead of the standard vertical
configuration with the manifolds on the top and bottom. Gary Reysa was
kind enough to
run a trial for us using this "Hizer" design and the
results were promising with temperatures rising in all the tubes from
the feed to the discharge side indicating that there were no areas of
stagnation or uneven flow. I also designed the pipe run so that the
feed and discharge from the panel would be at the same end to minimize
the piping run from the panel to the house.
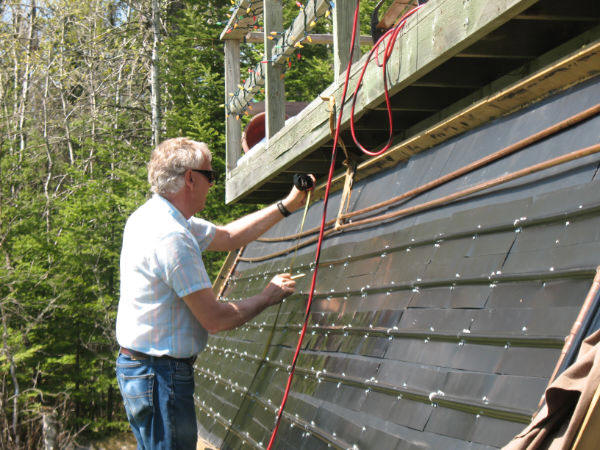
Installing Plates
Once the soldering was complete we installed the
absorption plates using a thin bead of silicone in the
groove and sheet metal screws to pull the plates around
the 1/2" copper pipe and into intimate contact with the
facing on the foam insulation boards.
Collector ready for glazing.
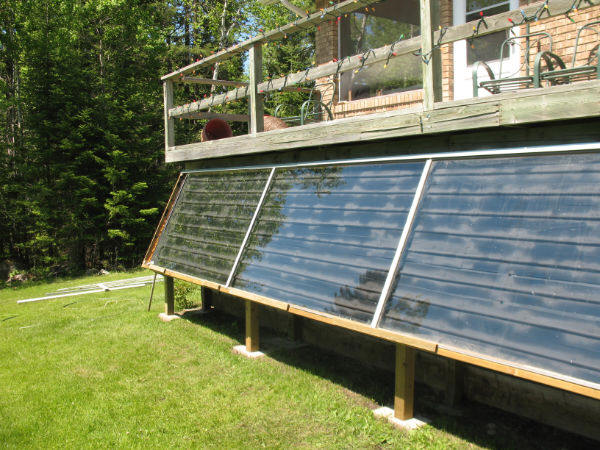
Glazing
The glazing is single pane tempered glass. It was
installed by creating a wooden lip inside the entire
perimeter of the frame into which the glass is set.
Once set in place the edges of the glass were covered
with regular 90 degree aluminum roofing drip edge and
the seal was finished with a bead of silicone.
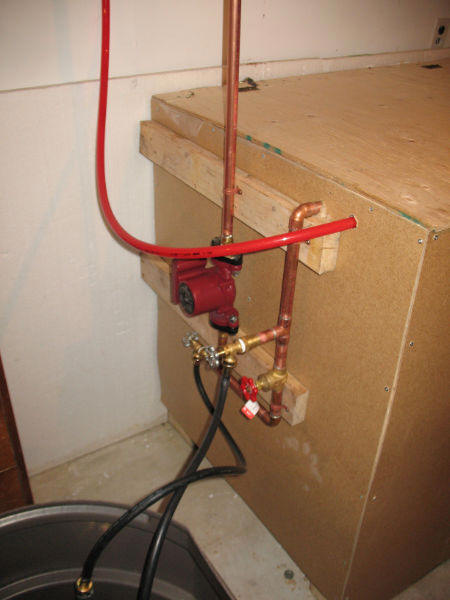
Plumbing
After installing the circulating pump, pressure relief
valve pressure tank and connecting piping we charged the
system with water and checked for leaks. We were
fortunate that all went well with this stage and after
purging the air from the system we were ready to start
collecting heat. and completed the installation of the
tempered glass.
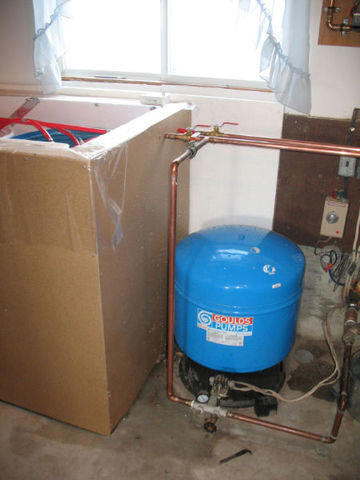
The pump that circulates water to the
collector. A U-Tube is used to avoid
a penetration of the tank wall.
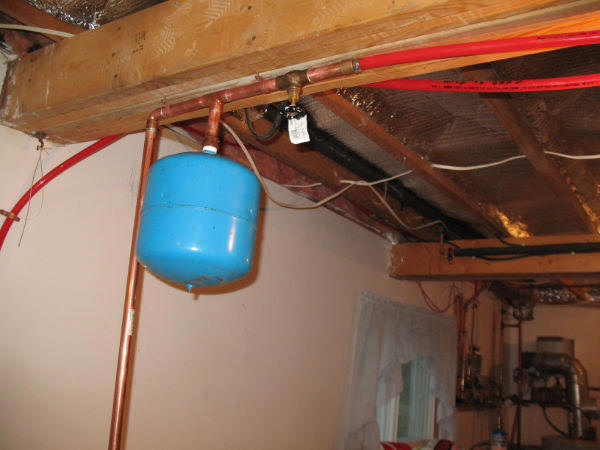
More of the collector plumbing along
with the expansion tank that allows fluid
in a closed loop system to expand.
Plumbing connections to the heat storage tank.
The well water tank is part of the existing
well plumbing system.
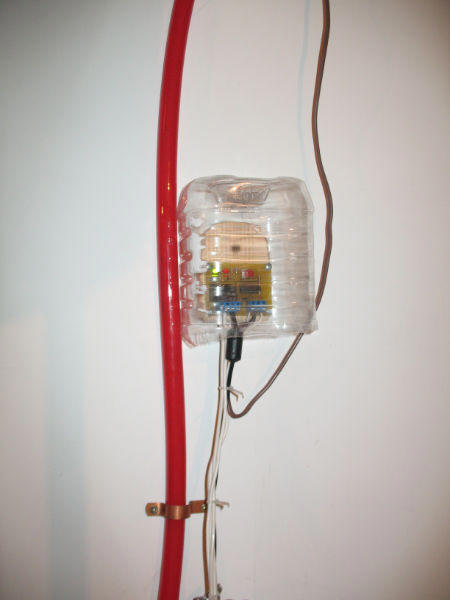
Differential controller in plastic bottle case.
The controller is from
JC-Solarhomes...
The plumbing is comprised of 3/4" copper between
the house and the panel, 3/4" copper manifolds and
1/2" "hizer" pipes. Once inside the basement the
plumbing is reduced to 5/8" PEX-AL-PEX for the feed
to and from the heat storage vault and for the 8
heat exchangers (2 in each of the 4 barrels).
The well water is preheated
by passing through the upper pex heat exchange coils
in each of the barrels before it enters the
fuel oil heated Domestic Hot Water Tank.
Cost
Here is the detailed cost estimate from Dave:
Description
Unit Size
Quantity
Price/unit
Projection
ActualCost
Comments
1/2" Copper
12 ft
16
$20.00
$320.00
$215.00
16 12' can tire($20
coupon)
3/4" Copper
6ft
7
$30.00
$210.00
$120.00
solar panel to
inside house (7)
Heat Spreader Plates
2 ft X 6"
100
$2.25
$225.00
$182.93
black soffit (winnipeg)
Antifreeze
$61.00
4" X 4" Treated
8 ft
4
$20.00
$80.00
$27.00
2" X 4" Treated
10t
5
$10.00
$50.00
$35.00
panel supports
Glass
4 ft X 6 ft
3
$-
$-
in stock
Circulating Pump
1
$-
$100.00
$165.43
misc teated wood
$95.00
solar frame
Barrels
45 Gallons
4
$-
$-
free
Barrels
30 Gallons
4
$-
$-
free
Copper T's 3/4" X 3/4" X1/2"
1
16
$1.00
$16.00
$13.98
Winnipeg
Copper Couplers
1
8
$1.00
$8.00
$45.00
12
couplers(Winnipeg) 7 couplers (wolsely
Pex Coil
300 ft
1
$300.00
$300.00
$300.00
Paint
1 Gallon
1
$15.00
$15.00
$70.00
metal black
panel/outside paint
Differential Temp Controller
1
$75.00
$75.00
$85.00
fom J Canivan
2" X 4" untreated
8 ft
14
$2.30
$32.20
$15.05
7 boardsfor Heat Storage Vault
spray foam
$45.00
taps/valves
$25.45
Pressure relief valve
$15.55
winnipeg
Pressure Tank
1
$50.00
$50.00
in stock
Insulation R12
1
$22.59
for box in basement
Insulation foam
3
$33.87
for Heat Storage
Vault
2"x4"x 10'
2
$4.58
for Heat Storage
Vault
4x8 plywood
1
$39.00
for Heat Storage
Vault
hardboard 4x8
3
$30.00
1 sheetfor box in basement
misc
$140.00
nails,screws,blades
solder
3/4 ballcock valve
3
$16.00
revamping pressure
tank connections
3/4 tee copper
3
$10.00
revamping pressure
tank connections
3/4x12'
1
$30.00
revamping pressure
tank connections
3/4/90 copper
$8.00
revamping pressure
tank connections
5/8 connectors
$70.00
parts plus shipping
cauking
$30.00
Total
$1,431.20
$1,950.43
Bob reminds us that "Canadian prices suck" :)
Performance
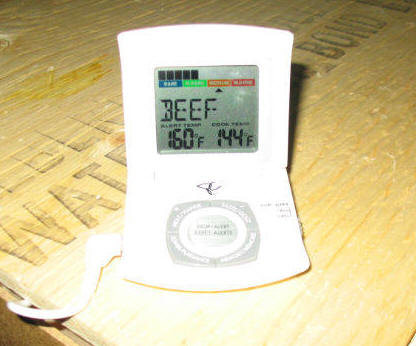
Using a regular inexpensive meat thermometer
temperatures attained in the 200 gallon Heat Storage
Vault have been as high as 150 deg F. At the time of
this picture the temperature shown (bottom right hand
number) was 144 F.
Overall I am quite pleased with the appearance and
performance of the system as Dave has reported that he
is quite regularly getting temperatures in his 200
gallon storage vault in the 130 deg + range. The
performance will only get better as the sun angle gets
more direct. We built the panel with a tilt of 65 deg as
we are located in central Canada at a latitude of about
49 deg.
Other
Thanks to all those who contributed ideas materials
and support during the build of this fun project, Dave
Rimstead, Brian Prouty, Gary Reysa and Scott Davis.
Bob July 15, 2011
Comments
Please feel free to enter any questions or comments
you have on the system below.