
Search
The Renewable Energy site for Do-It-Yourselfers
ProMaster Camper Van Conversion -- Ventilation Fan
| |
Important Update
The material on these pages describing our camper van conversion has been moved to our new new site dedicated to efficient RVs and camper vans.
The new site covers all the material here and adds a lot of new material on other camper van conversions, camper van design and build, resources for people converting vans, other efficient camping vehicles, new ideas in efficient RVs and camper van travel hints.
The new site is here...
I'm leaving these pages here as you may have bookmarked them and the Comments section has some good suggestions, but I suggest that you go to the new site -- I won't be updating this material anymore.
Thanks to all the people who read these pages and especially to the people who left comments and suggestions! Feedback on the new site is very much appreciated.
Gary
|
|
Which Fan?
There are two fans out there that people appear to like for RV ventilation. The Maxx Fan and the Fantastic Fan. They both appear to be good products that do the ventilation and cooling job well. Both come is several models that range from fairly simple manual control up to full automatic with remote controls.
We had a Fantastic Fan in an earlier RV and were quite satisfied with it, but this time we decided to go with the Maxx Fan -- it appears to have somewhat better aerodynamics and to handle ventilation in the rain or while driving somewhat better -- will see. I don't think you could go wrong with either brand.
Installation Steps
The basic steps in installing the Maxx Fan:
- Decide where you want the fan
- Make a template to mark the cutout
- Cut out the hole
- Install Butyl Tape on fan cutout frame
- Screw fan cutout frame to roof
- Apply sealer over frame
- Install fan in frame
- Test fan for operation
See below for details on each step.
Decide Where You Want the Fan
The ProMaster has a nice spot to put the fan up near the front of the roof. If its installed there, you don't have to deal with the ribs in the roof (see pictures below).
This location works out well for us in that we have a very long PV panel that has to go behind the fan, so the fan needs to be up near the front to leave room for the PV panel. Others may wish to install the fan further back.
Make a Template to Mark the Cutout
The fan needs a 14 by 14 inch cutout in the roof. The easiest way to get this right is to make a 14 by 14 cardboard template, and then place the template on the roof and draw around it to mark the hole.
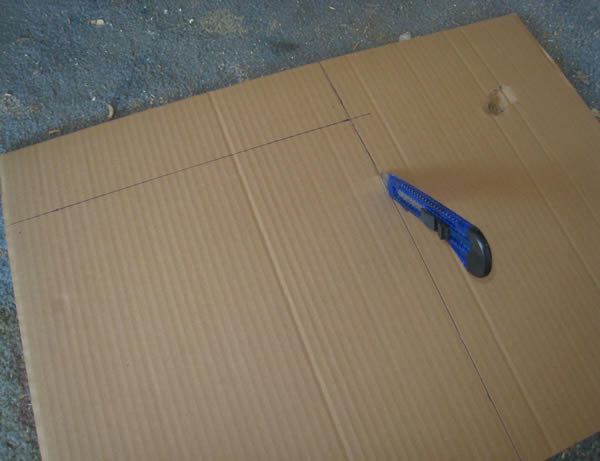
Cutting out the 14 by 14 template.
|
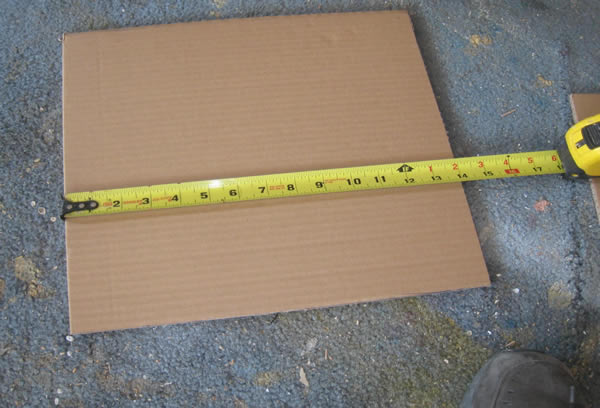
Finished template
|
Cut the Hole
Align the template carefully on the roof, and then mark around it.
Be careful about where you put your weight on the roof -- it can be dented. Guy on the ProMaster forum reported some serious dents made by the people who installed his fan.
I used my tractor's front end bucket as a work platform to avoid stepping on the roof a lot, but working from a ladder from each side will also work fine. If you are careful, you can kneel on the roof right over the roof support frame that runs just aft of the front doors.

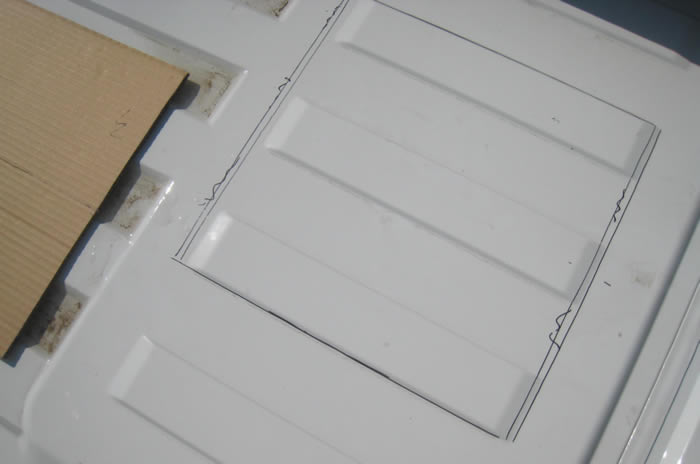
This shows the cutout marked on the roof. The crossed out lines are from the first try, which was a little to far aft. By placing the cutout just-so, you stay on the flat part of the roof.
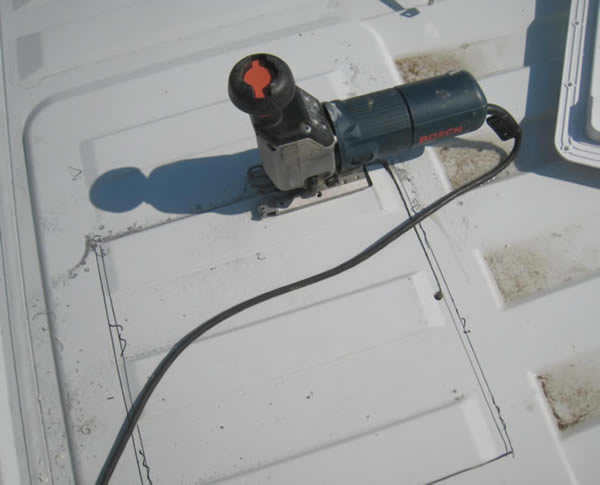
Cutting the hole out. Its good to drill a starter hole along each side, as the corners are square and you can't just cruise around them with the saw.
|
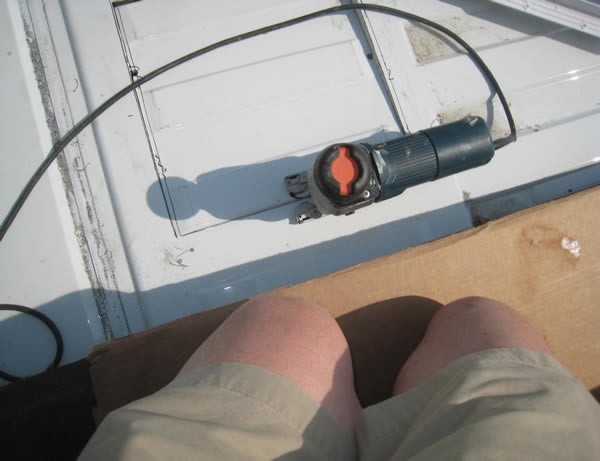
Getting near the end.
|
Once the cutout is done, clean up the sharp edges. It would be a good idea to apply some rust primer to the cutout edge at this time, but I did not.
At this point, I had to scrape away the foamed in place insulation around the cutout on the inside of the van. You will only have to do this if your insulation comes right up to the cutout.
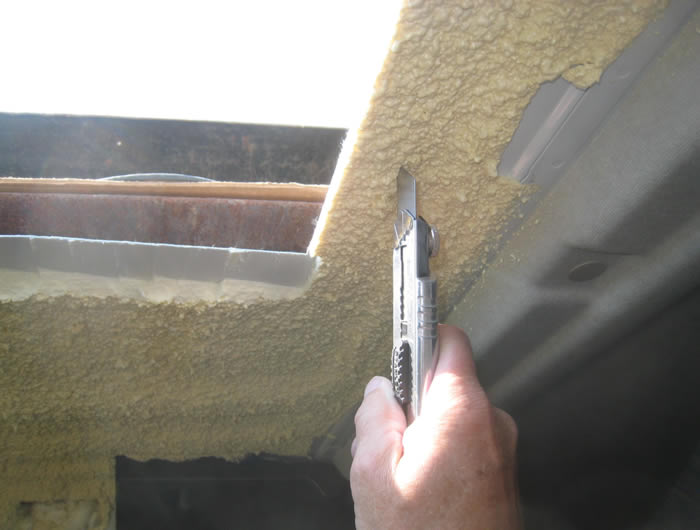
Cutting/scraping back the foam insulation around the fan cutout.
Install Butyl Tape on Fan Frame
Clean up the area around the cutout where the butyl tape will be in contact with alcohol or the like.
Run butyl tape around the fan cutout frame. This butyl tape will get squeezed between the roof sheet metal and the fan cutout frame and will seal out water leaks. Be sure to run the butyl tape over the screw holes in the fan frame.
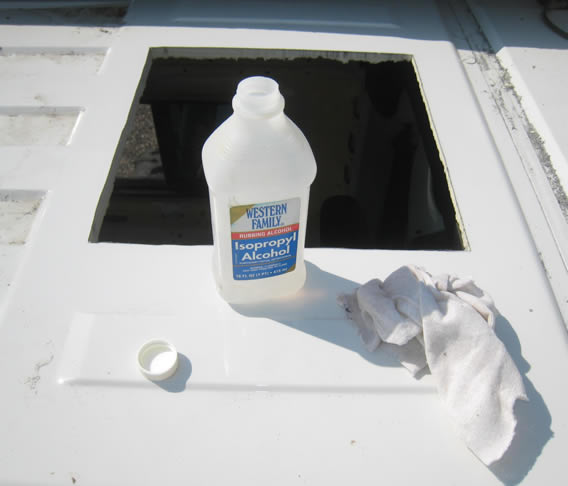
Clean up the area around the cutout where the butyl tape will be contacting the roof sheet metal.
|
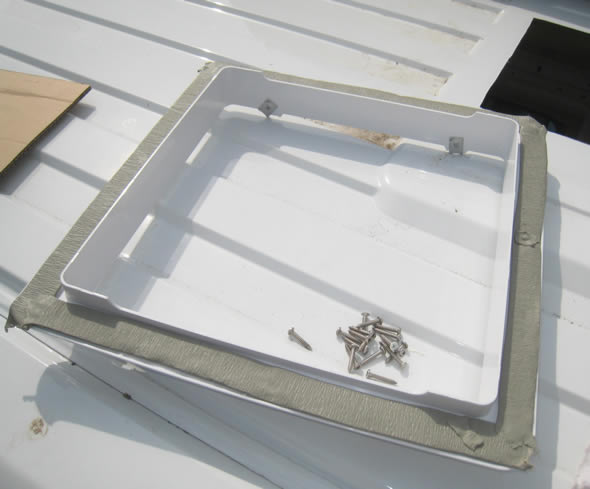
Apply the butyl tape to the side of the cutout frame that will face down.
|
Once the tape is on the frame and the sheet metal is clean, place the cutout frame in the cutout and center it up and push it down.
Screw the Frame to the Roof
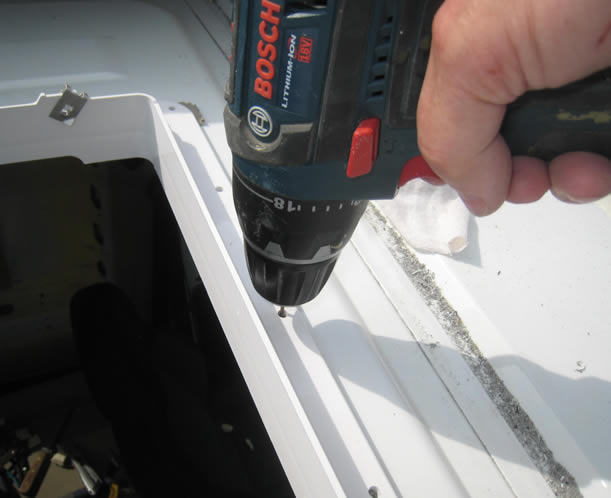
Drill pilot holes for each of the screws that holds the cutout frame down the sheet metal.
|
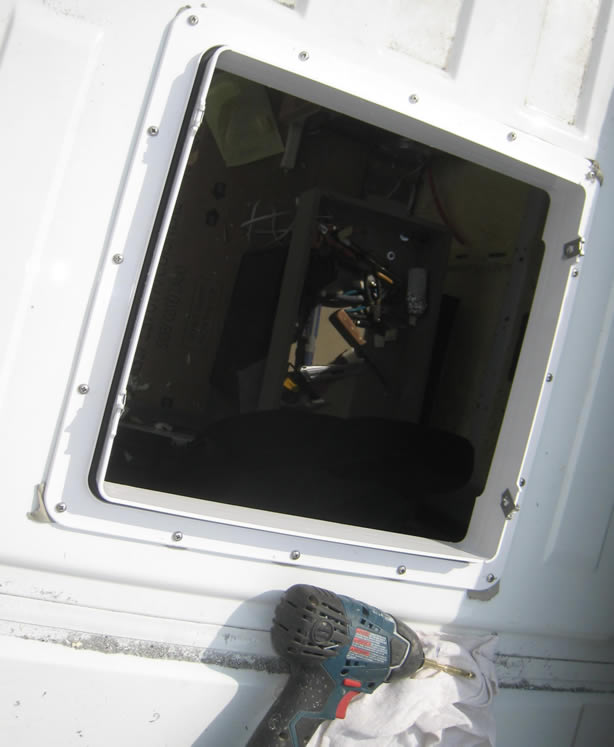
I used a driver to get all the screws down to where they were just snug on the frame.
|
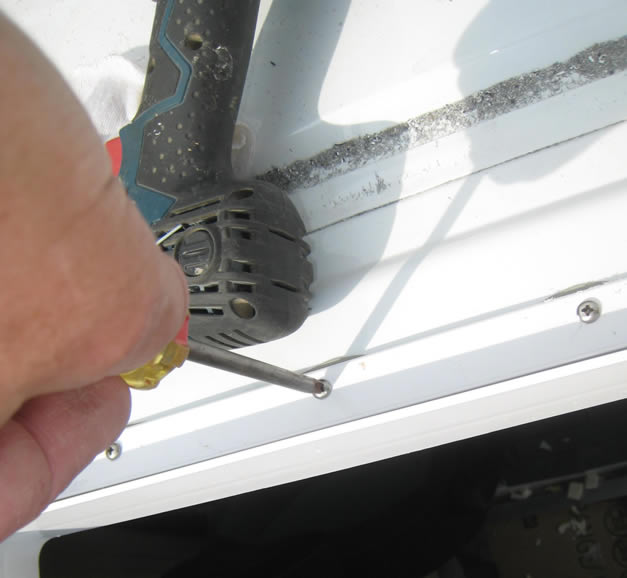
Do the final tightening with a screw driver. You should see a bit of butyl tape squeeze out along the frame.
Apply Sealer Over the Frame
Once the butyl tape has had a chance to finish its squeeze out, go around the cutout with a plastic scrapper to remove the excess butyl tape.
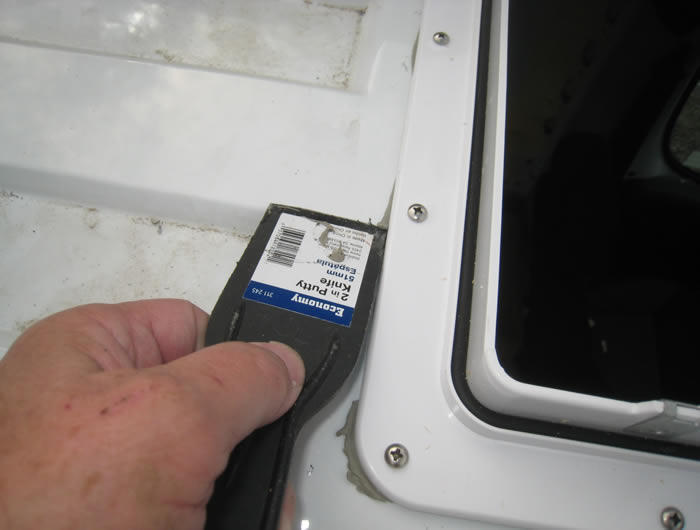
Next, you want to apply a sealer over the screw heads and along the edges. Maxx Fan mentions Dicor Lap Sealant, and I used it -- it seems to have a good reputation. Our local RV parts place had it for $10 for a caulk tube. Its applied with a regular caulking gun. Silicone caulk would be another option.
Before applying the lap seal, do a cleaning with the alcohol or similar.
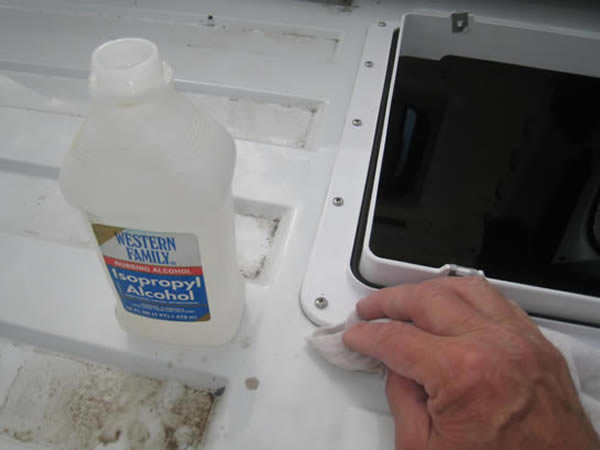
Clean up where lap sealing is to be applied.
|
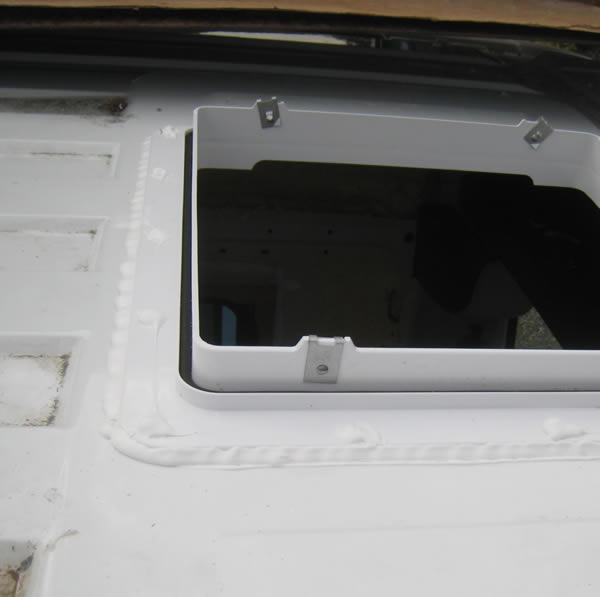
Lap sealing finished.
|
Install the Fan in the Frame
At this point, Maxx Fan suggests installing the connectors on the electrical wiring so they are ready when the fan is dropped into the frame.
To install the fan assembly in the cutout frame, you first open the fan up all the way, and then just drop it into the cutout frame with the fan opening facing aft.
Line up the four holes in the fan with the 4 nutplates in the cutout frame, and secure with the 3/4 inch stainless screws.
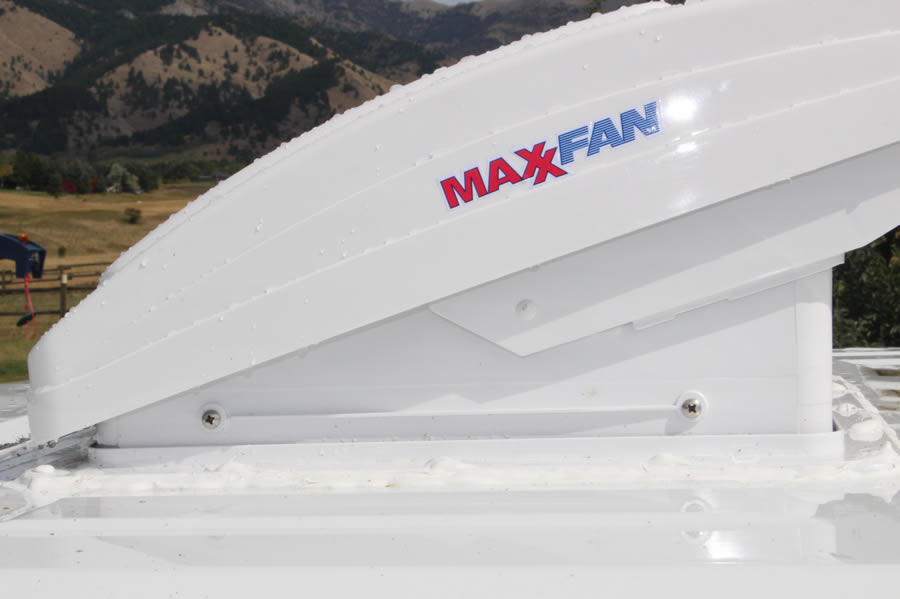
Two of the four screws that hold the fan assembly to the fan cutout frame.
Maxx Fan has just recently added a rubber gasket to the joint between the fan and cutout frame, and I found that I had to apply a fair bit of down force to compress the gasket enough to get the screw holes to line up.
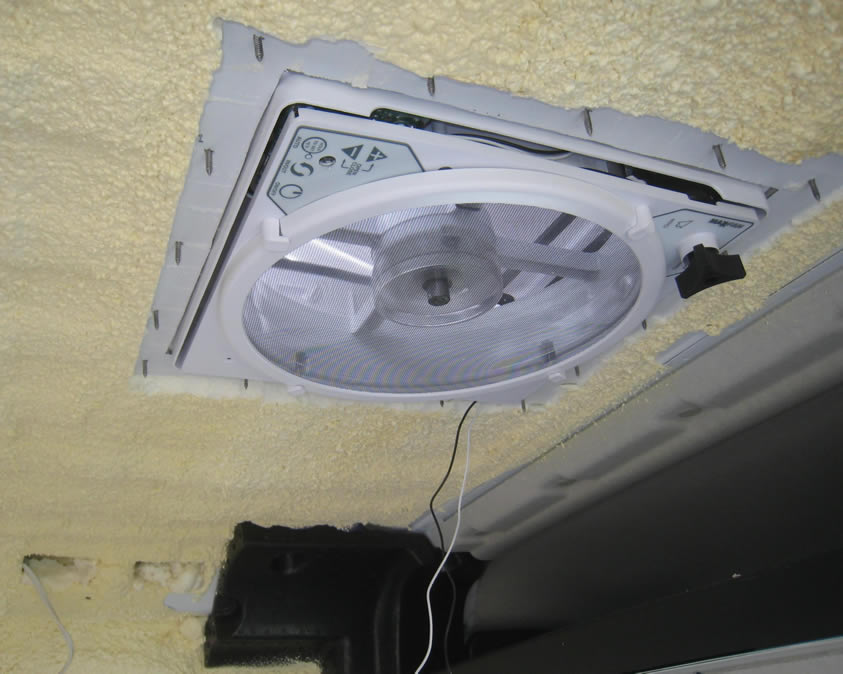
Fan from the inside.
I still need to install the inside decorative molding, but will wait until the I decide on the type of ceiling we are doing.
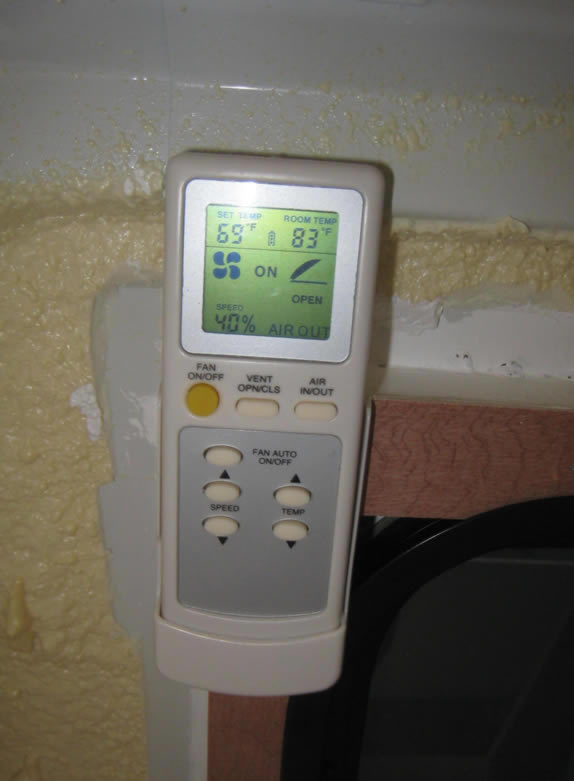
The remote allows you to turn the fan off and on, control the speed, and even automatically maintain an inside temperature.
There are models with and without remote.
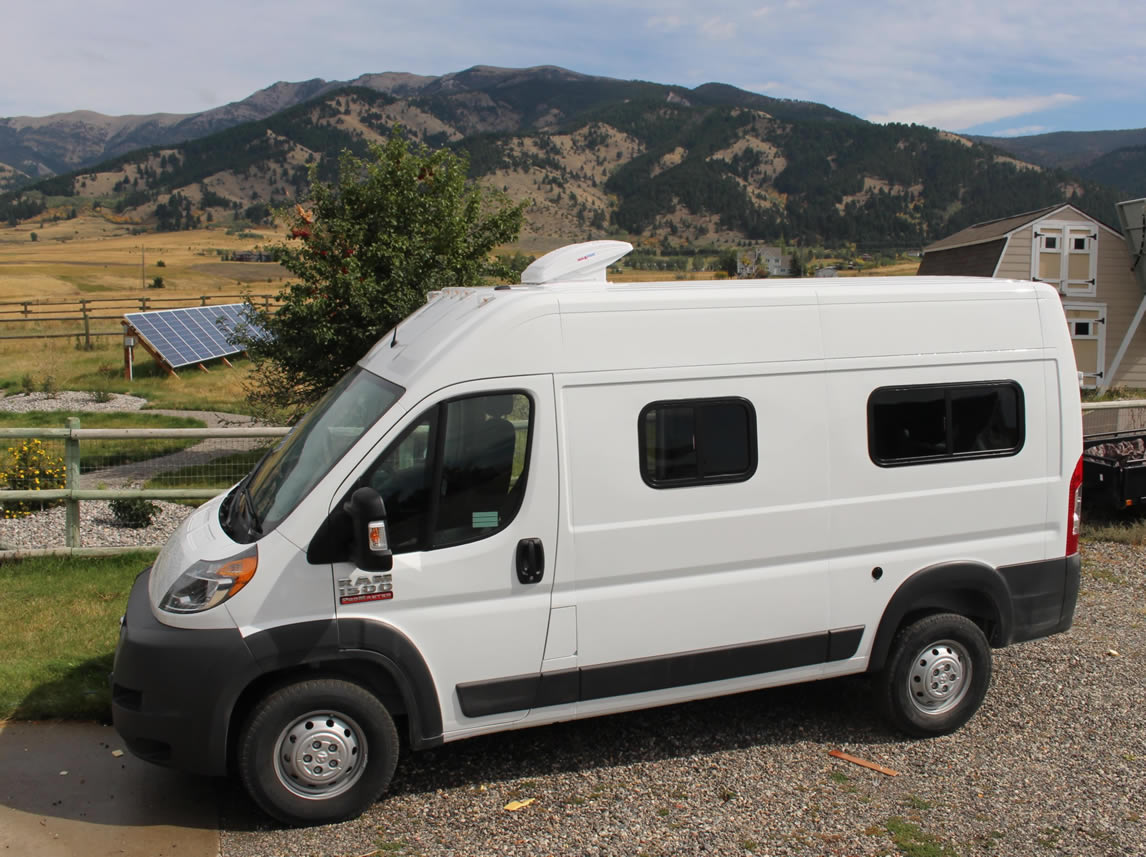
Overall, the Maxx Fan appears to be well designed, and the installation is straight forward. The instructions that come with the fan are good. Will see how it does in service.
Cost and Weight
It took me about 3.5 hours to do the install.
The fan weight is 14 lbs less the 2 lbs of sheet metal that comes out.
Cost of the relatively fancy model of the Maxx Fan was $268 from AmericanRVCompany.com.
Another Ventilation Idea
John saw this page and suggested an alternative ventilation scheme. His suggestion is to use the ProMasters ventilation system and a new timer that would turn turn it on intermittently through the night -- say, 5 minutes on and 15 minutes off. While this might not provide the level of ventilation that a Maxx Fan or Fantastic fan does, it does make use of hardware that you already have.
I'd be happy to hear any ideas, suggestions, corrections, or questinons -- use the Comments link just above.
Gary
September 18, 2014


